08 Nov Wet on Wet Watercolor for Beginners: Soft Blends in 4 Simple Steps
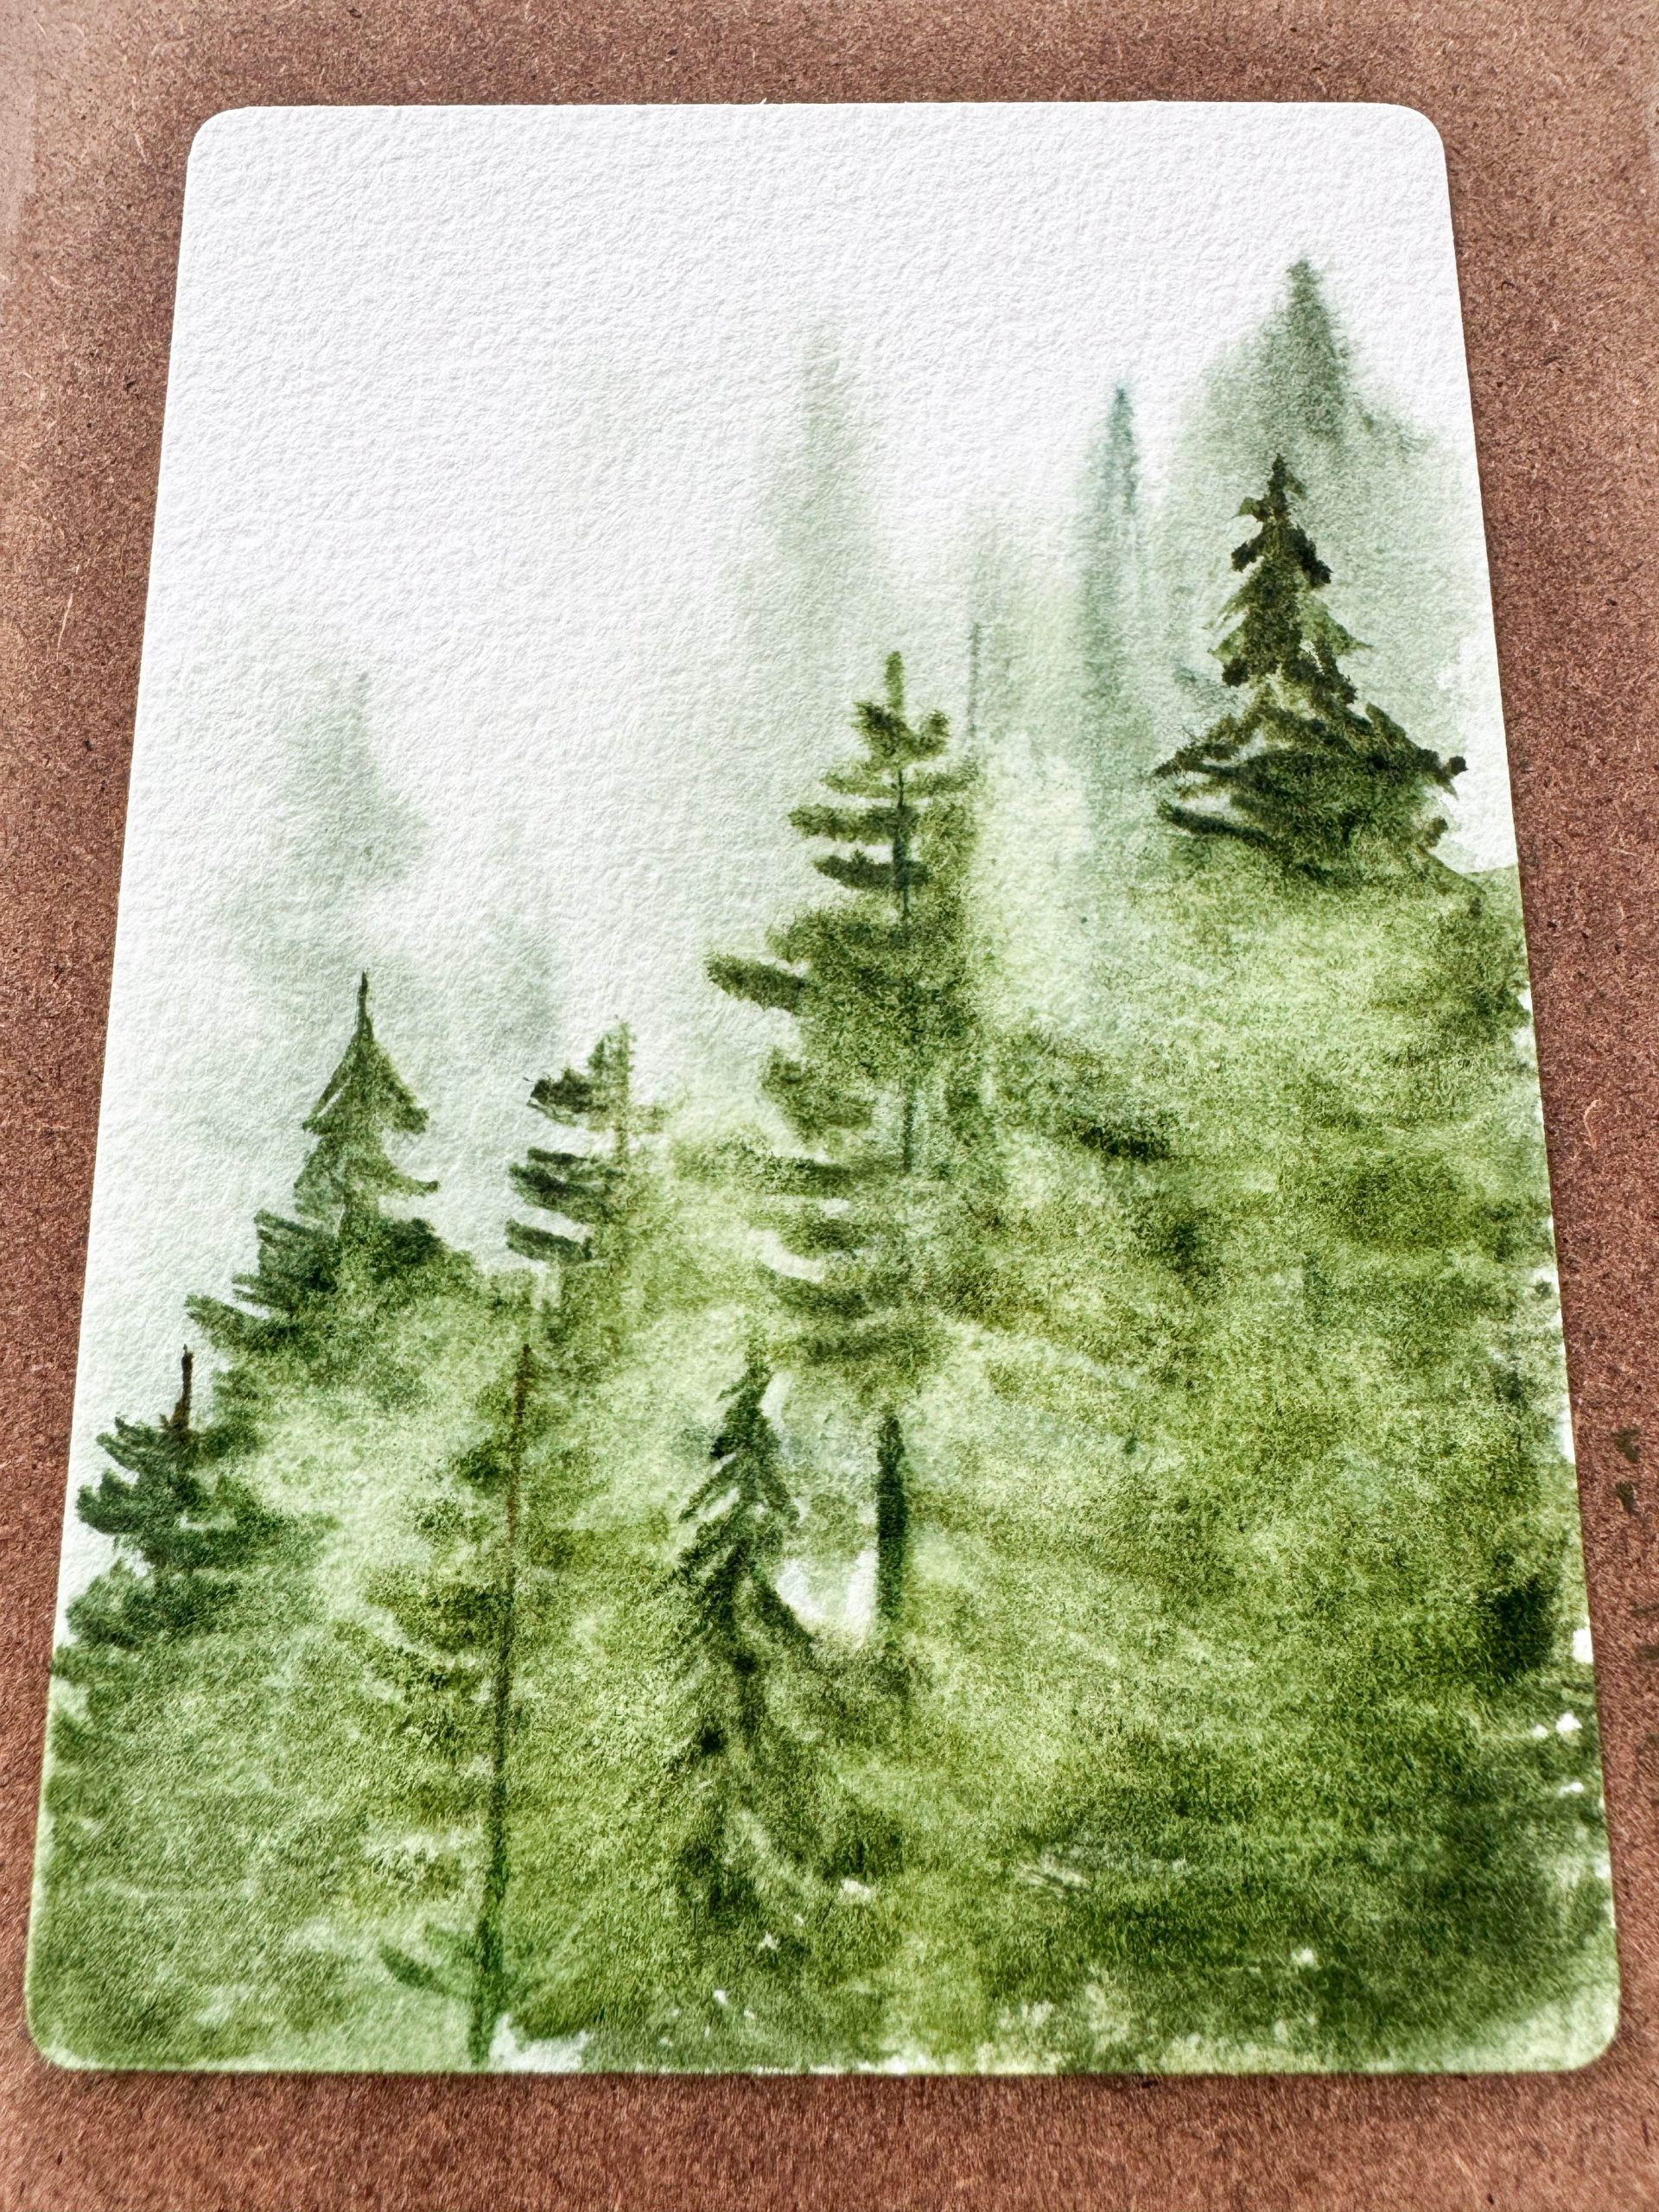
Dreamy skies, colors melting into each other like magic – that’s wet on wet watercolor. Many beginners think it’s hard to control, but the real secret comes down to one thing: timing. It’s still the technique I use most, and in this guide I’ll show you how to do it in 4 simple steps – plus the most common mistakes and how to fix them fast.
Level 1 · 10-min practice · 4-min read
This post contains affiliate links. As an Amazon Associate I earn from qualifying purchases.
Quick Answer
Wet on wet watercolor means dropping wet paint onto paper you’ve already wet with clean water, so the colors spread and blend into soft edges on their own. Wet the paper evenly until it has a thin sheen but no puddles, use paint a little stronger than you think you need, then let it flow. It’s perfect for skies, water, background layers, and anything soft and dreamy.
What Is Wet on Wet (and When to Use It)?
Wet on wet (also called wet in wet) means both the paper and the brush are wet. The opposite is wet on dry – painting onto dry paper for crisp edges, like when you layer colors with glazing.
How to Paint Wet on Wet Watercolor: 4 Simple Steps
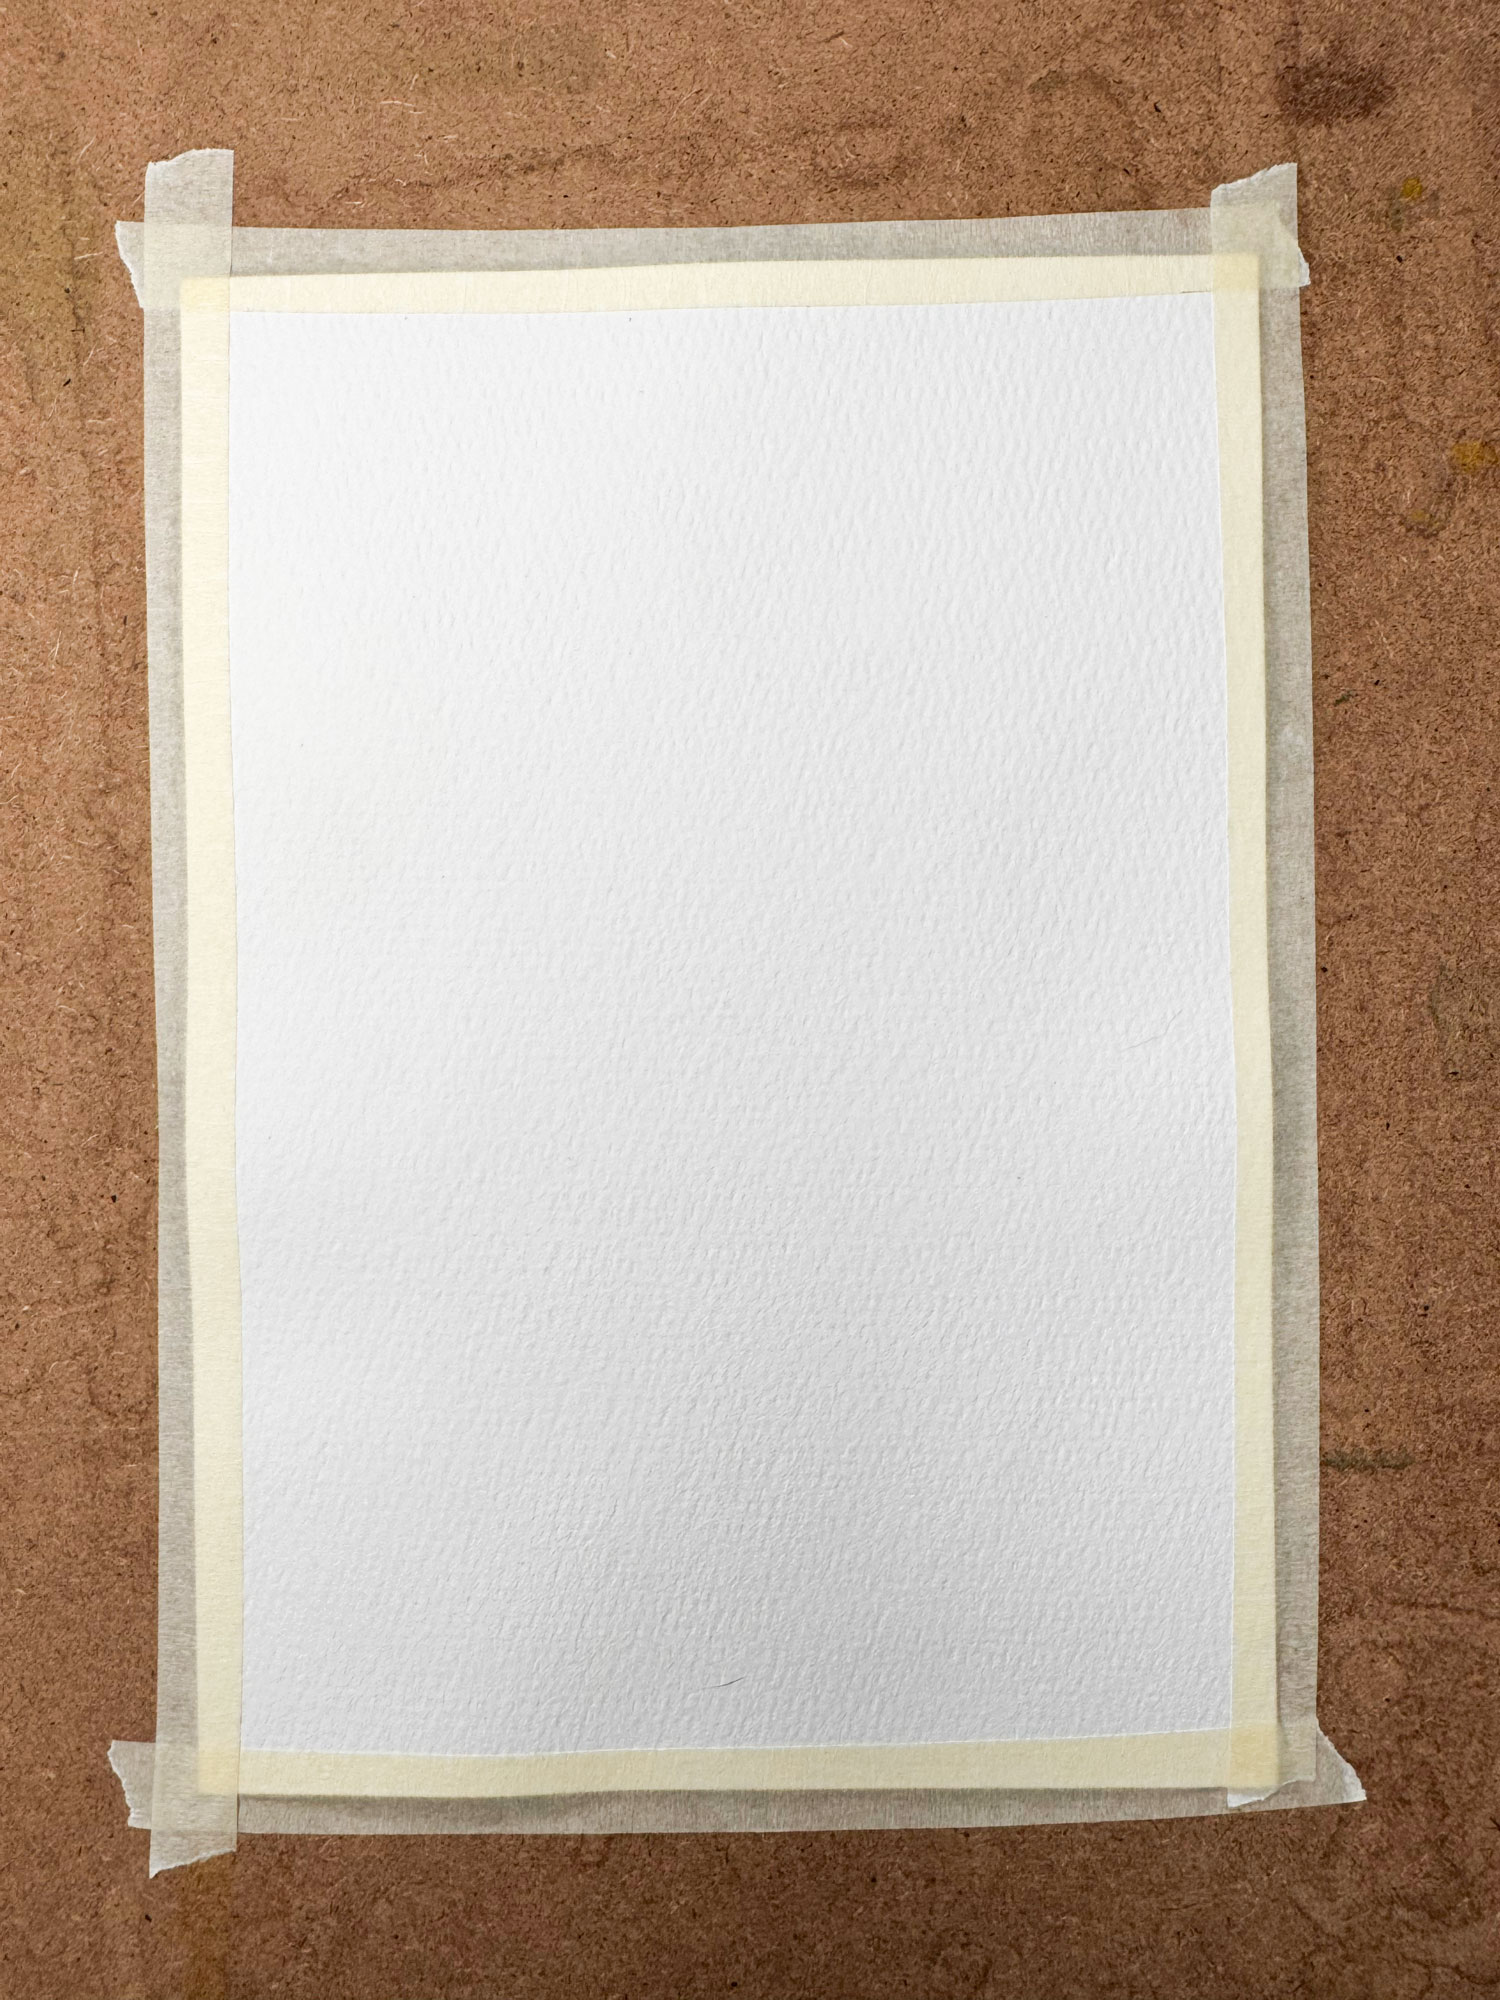
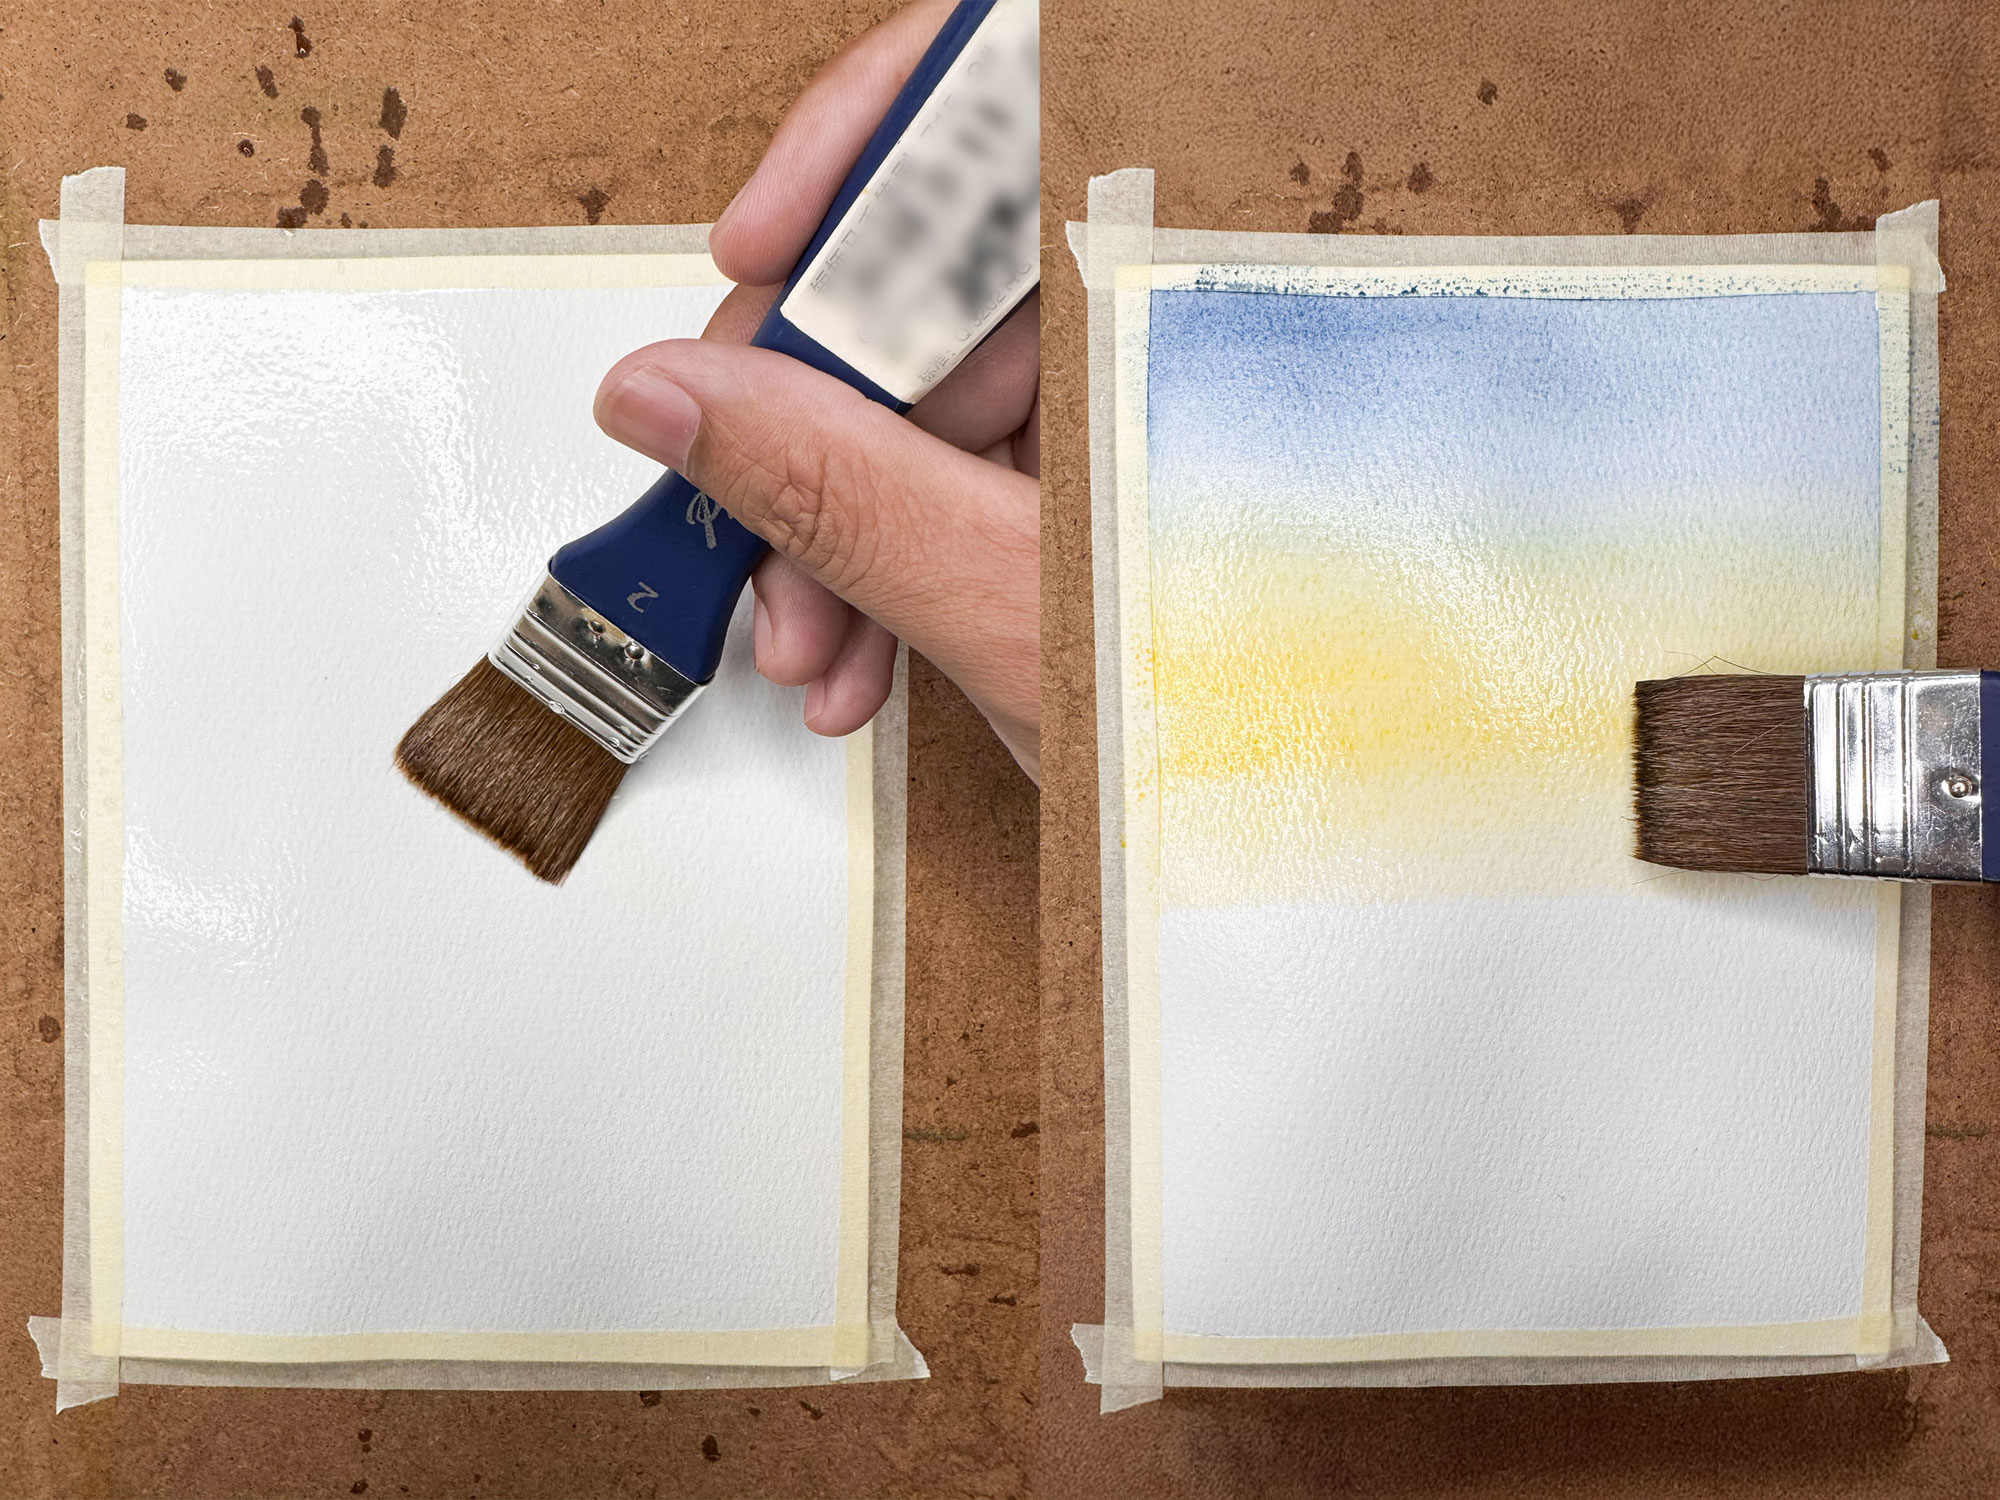
1. Tape down your paper. Tape all four edges to a board or your table. Wet paper swells, and taping it keeps paint from pooling in the dips.
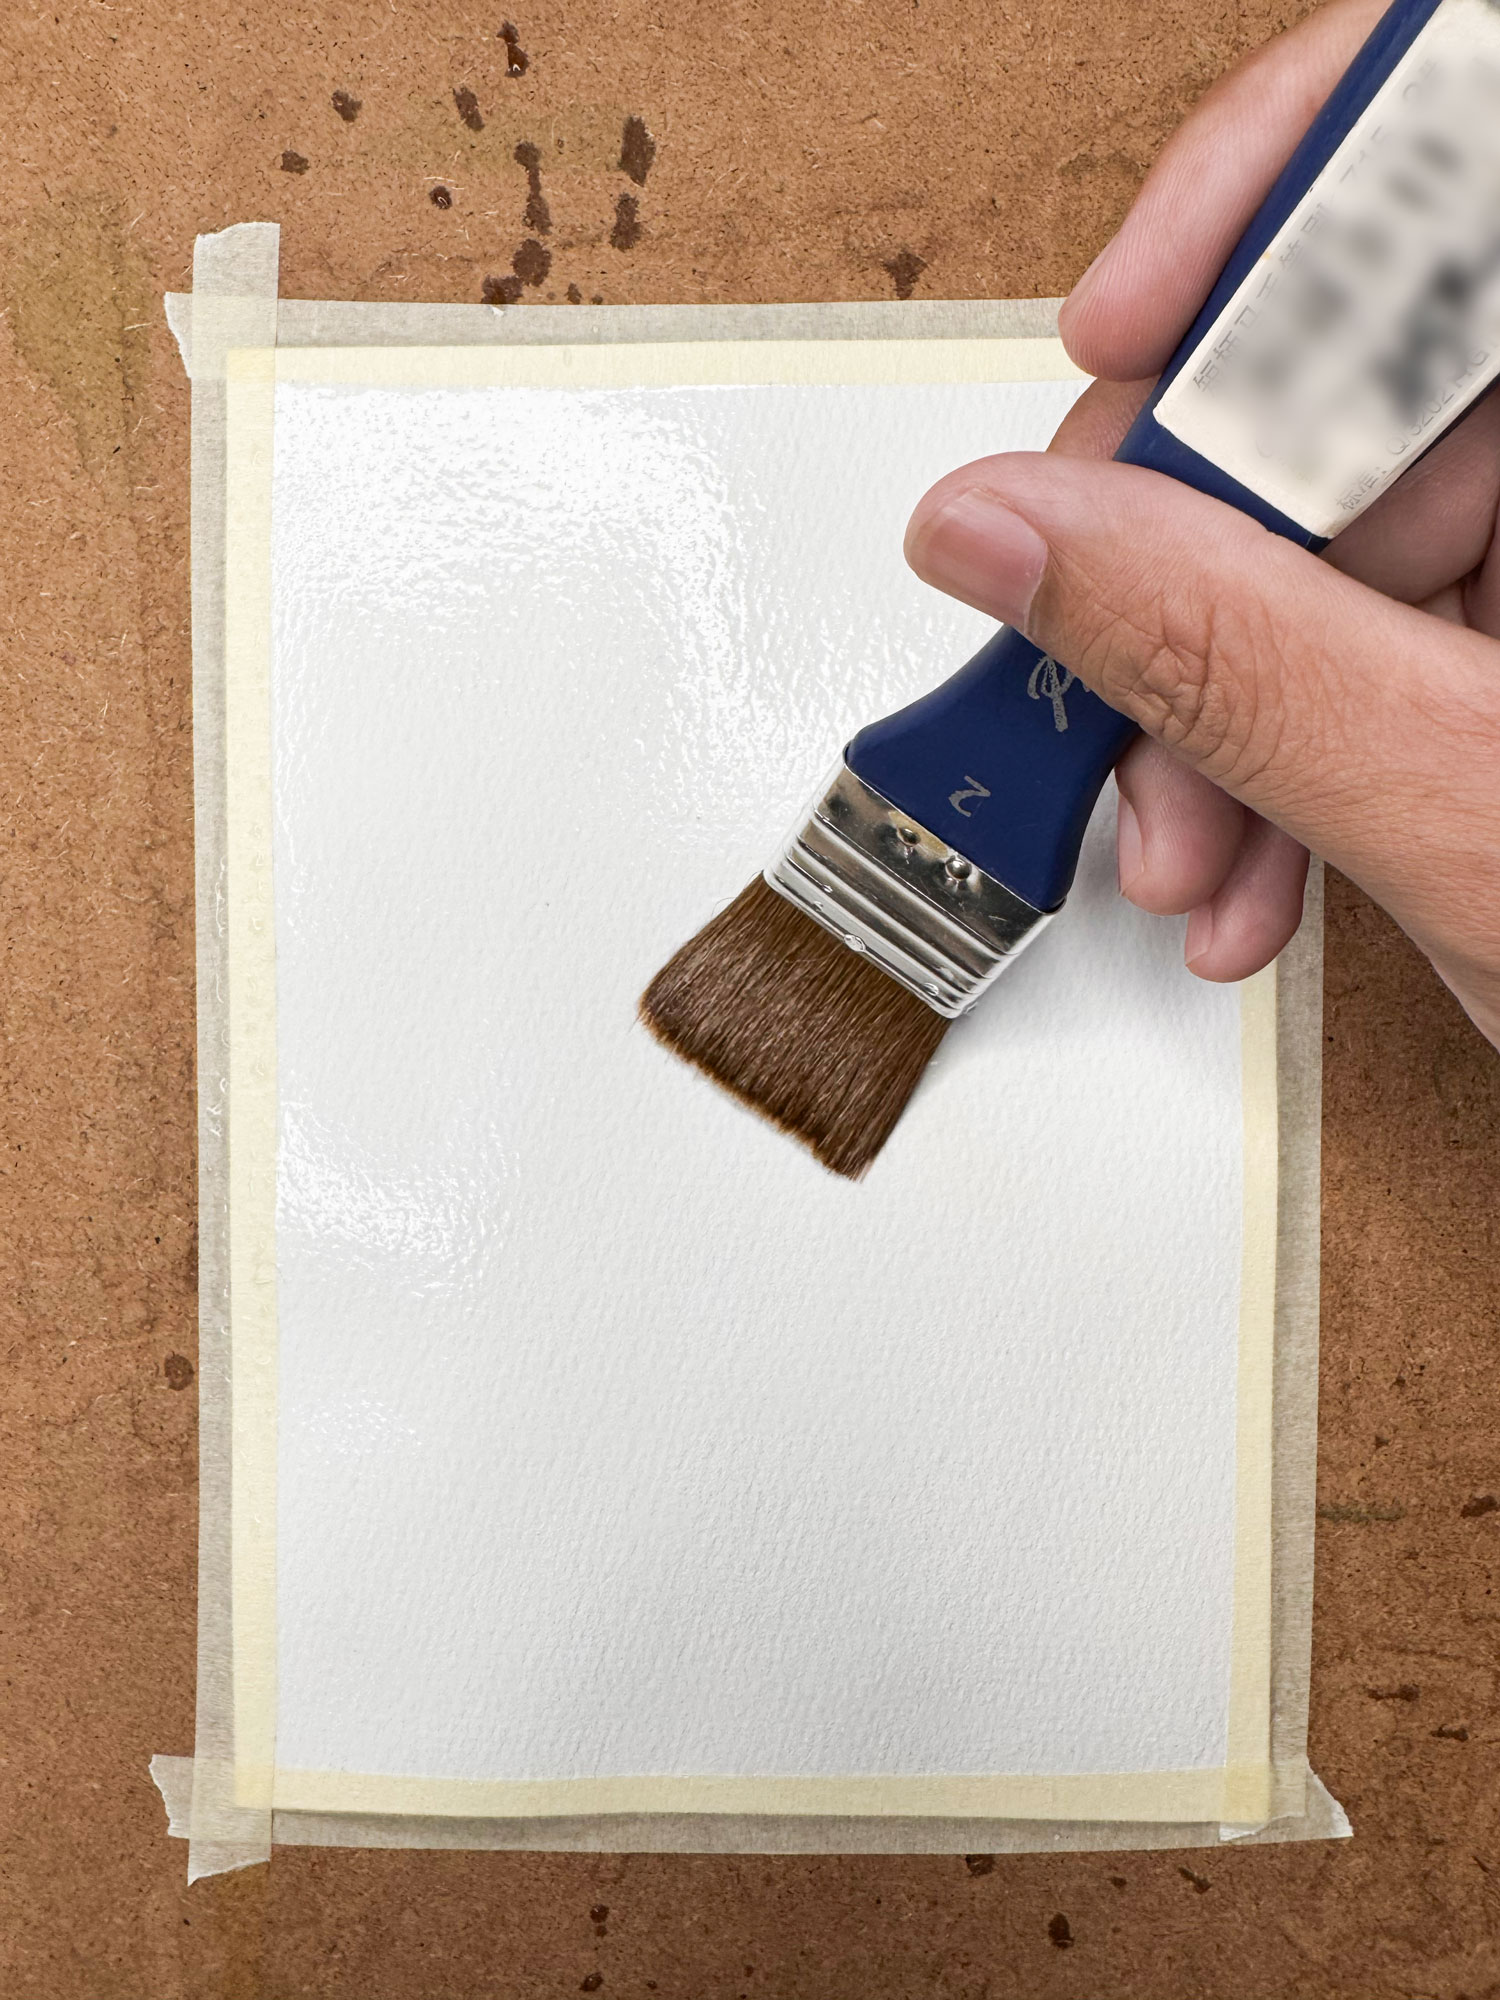
2. Wet the paper evenly. Use a big brush and clean water to cover the whole area you’ll paint. Tilt the paper toward the light: you want a thin, even sheen – no puddles, no dry spots.
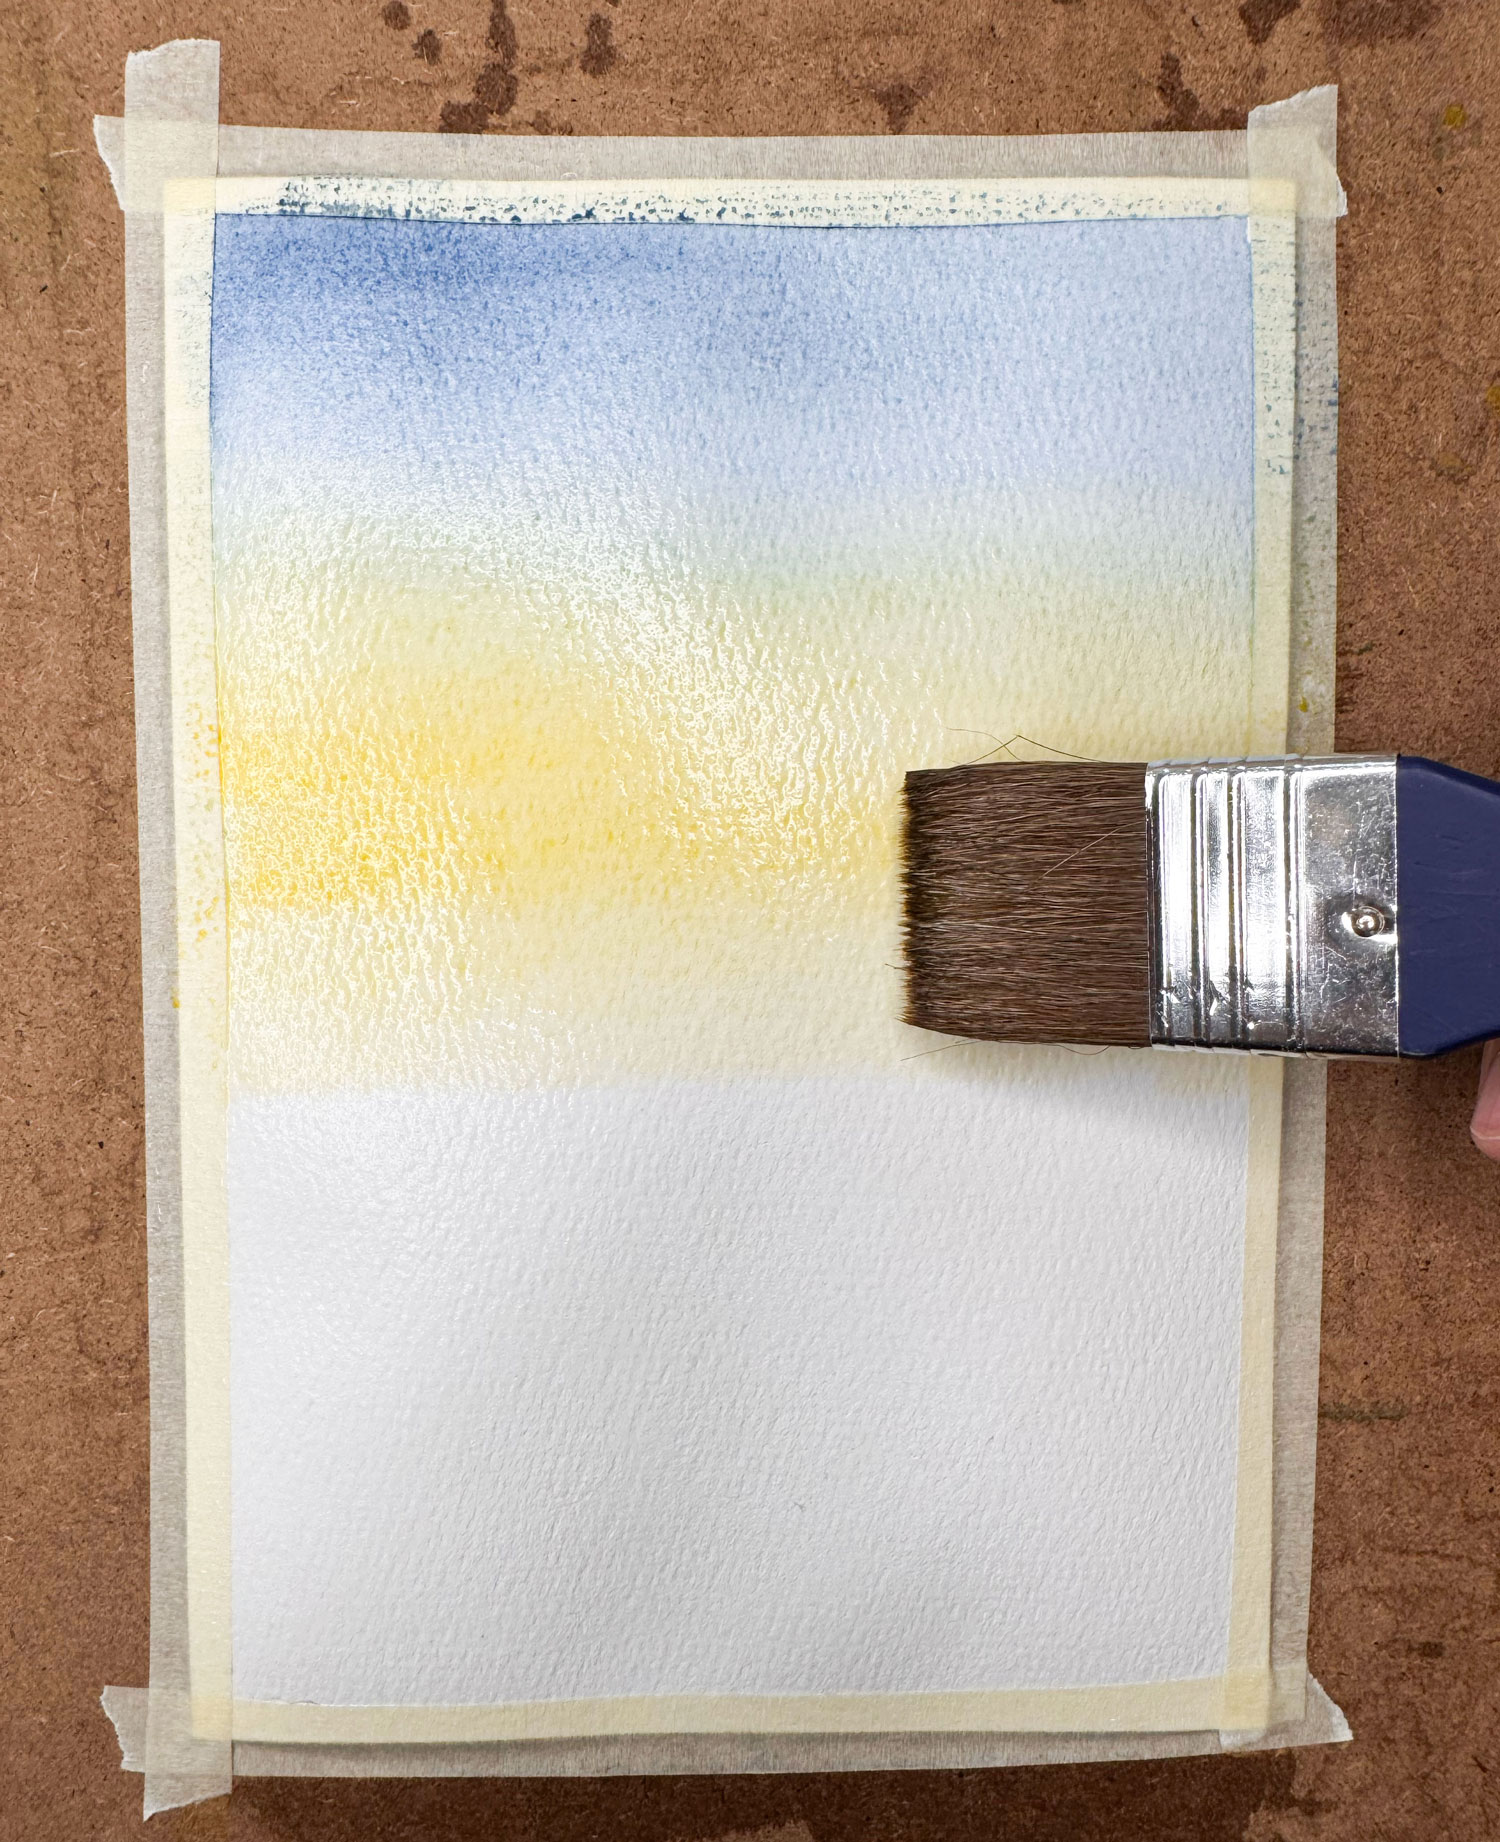
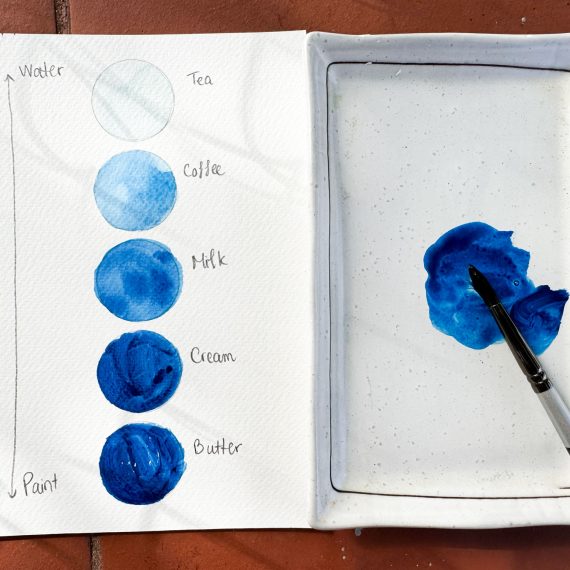
3. Drop in your color. Touch a loaded brush to the paper and let the paint spread on its own. Mix it stronger than usual – around “milk” to “cream” (see how much water to use) – because the water on the paper will thin it out. Want two colors to blend? Drop the second one right next to the first and let them meet.
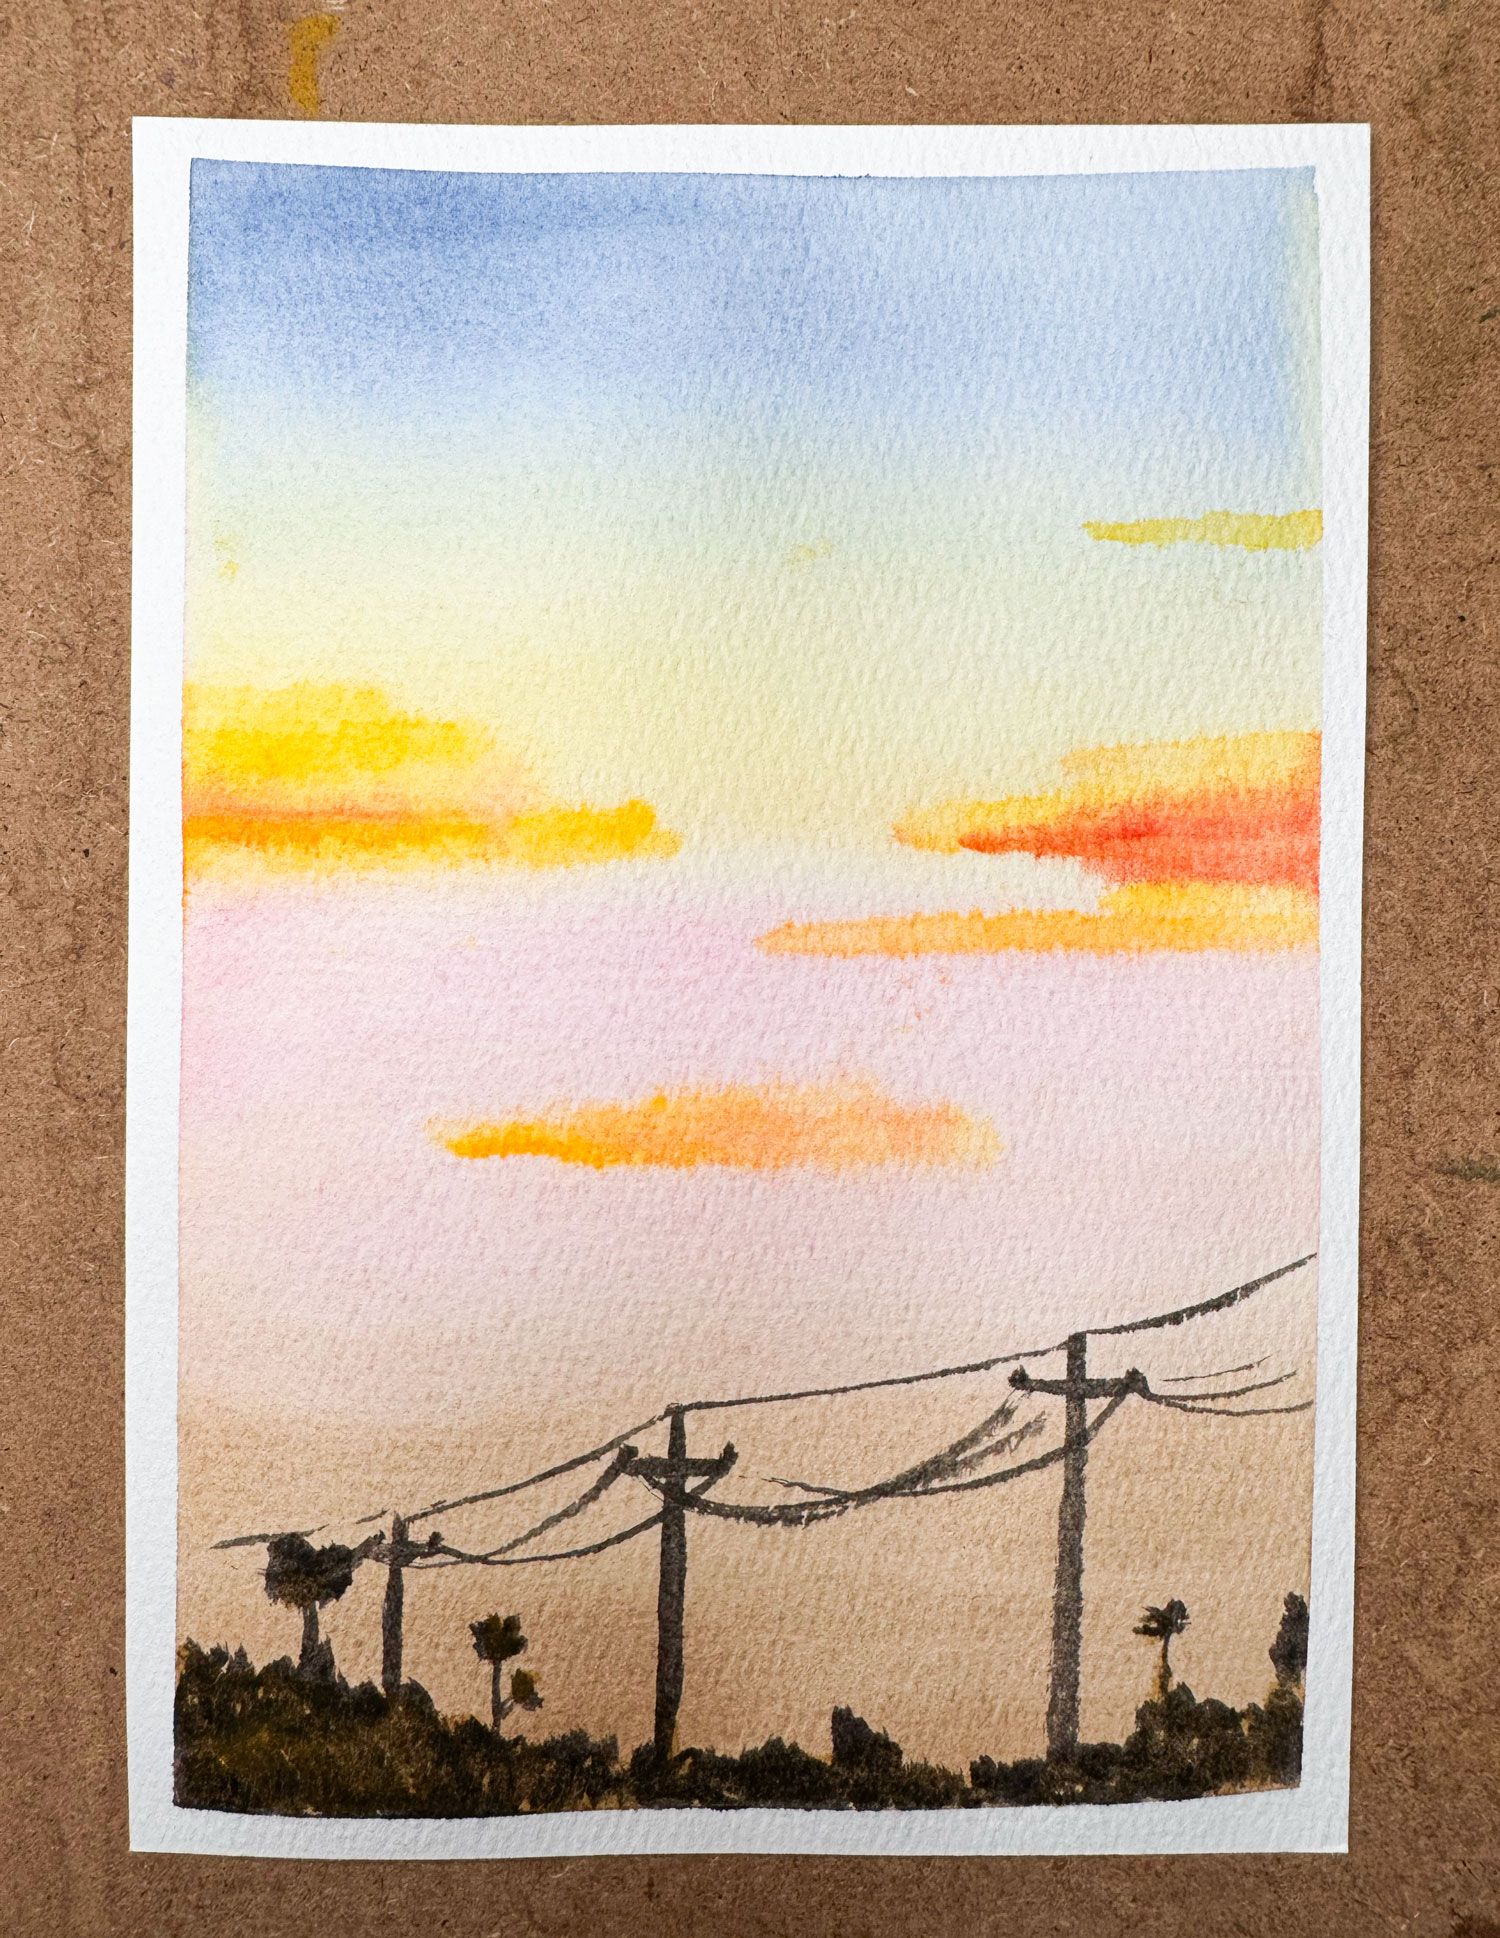
4. Let it be, and let it dry. Tilt the paper gently if you want the color to flow in a certain direction, then put your brush down. Don’t go back in once the shine is gone. Let it dry flat.
10-minute exercise – a sunset sky: Tape down a postcard, wet the whole thing, then drop in blue at the top, pale yellow at the bottom, and a touch of pink in between. Tilt gently and let it dry – you’ll have a sky ready for a pine tree or a little house on top.
Common Mistakes (and Quick Fixes)
Tools I Use
• My watercolor brush set – a size 16 for wetting the paper and big washes, a size 10 for smaller areas. See it on Amazon.
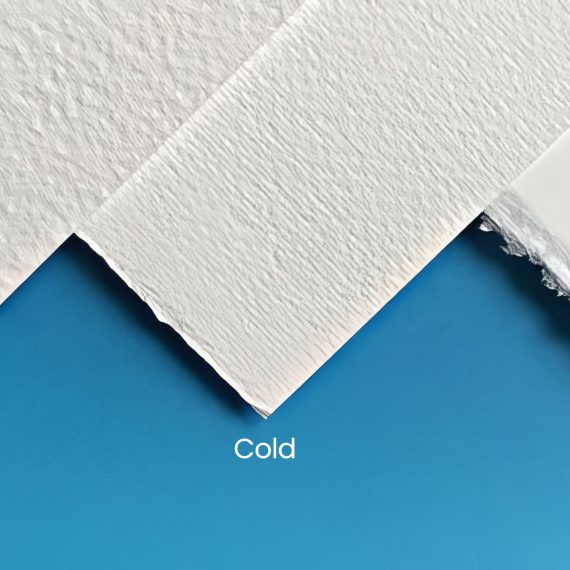
• BAOHONG Academy 300gsm Cold Press (100% Cotton) – cotton paper stays wet longer, giving your colors more time to blend. See it on Amazon.
• Paper tape – the tape I use to hold my paper down. It keeps the sheet flatter when wet and peels off cleanly. See it on Amazon.
Just starting out? See The Only 6 Supplies You Need to Start Watercolor.
Try It on a Painting
Paint a wet on wet sky, let it dry, then add the Easy Watercolor Winter House on top. Or try a soft winter sky behind the Easy Watercolor Winter Cabin. Want more practice? Check out the Easy Watercolor Practice Playlist.
Almost every day, I share an easy watercolor painting – plus sketches you can print and paint right away. Come say hi and show me the first postcard you print!
Follow on FacebookFAQs
Wet on wet means painting onto wet paper, so colors spread and leave soft edges. Wet on dry means painting onto dry paper for crisp edges and clear shapes. Most paintings use both: wet on wet for backgrounds, wet on dry for details.
The paper should have a thin, even sheen when you tilt it toward the light – no puddles and no dry spots. Too wet and the paint runs everywhere; too dry and you get hard edges instead of soft blends.
Usually just a few minutes, until the paper loses its shine. It depends on your paper, the humidity, and the room temperature – cotton paper stays wet longer than cellulose. Once the paper turns dull, stop and let it dry completely.
Yes, but it’s harder. Budget cellulose paper dries fast and absorbs unevenly, which leads to streaks and hard edges. If you practice this technique often, 100% cotton paper makes it much easier to succeed.
Yes – it’s one of the most fun parts of this technique. Drop two colors side by side and let them blend where they meet. Don’t stir with your brush, and avoid placing opposite colors right next to each other so they don’t turn muddy.


No Comments