31 Oct Watercolor Glazing for Beginners: How to Layer Without Mud
Have you ever added another layer to make a painting richer, only to watch it turn dull and muddy? It’s the most common beginner frustration. The good news is that the fix is simple, and it has a name: glazing.
In this guide to watercolor glazing for beginners, I’ll show you the one rule that matters most, a printable five-square exercise, and how to use it on the postcards you’re already painting.
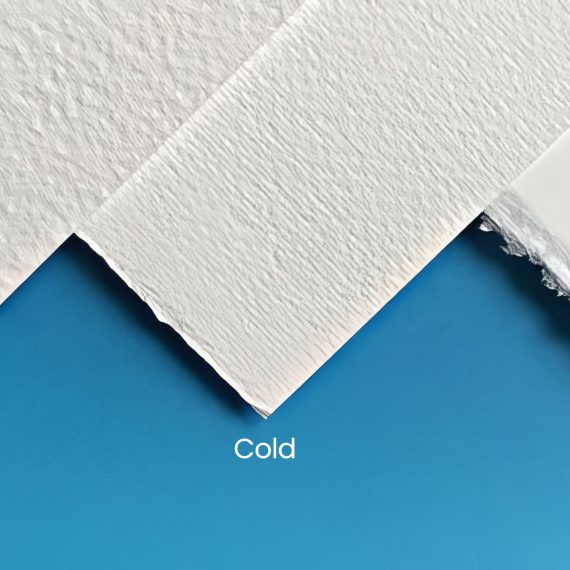
Level 1 · 15 minutes of practice + drying time · 2 colors · 300gsm cold press paper
This post contains affiliate links. As an Amazon Associate I earn from qualifying purchases.
What is watercolor glazing?
Glazing means painting a thin, transparent layer of color over a layer that is already completely dry. Because watercolor is transparent, light passes through each layer and bounces back off the white paper, so the color looks deep and glowing instead of flat. You may also hear it called wet-on-dry layering.
The layers don’t mix on the paper; they stack like sheets of colored glass. A thin blue glaze over a dry yellow layer, for example, gives a clearer, brighter green than mixing the two on your palette.
When should you use glazing?
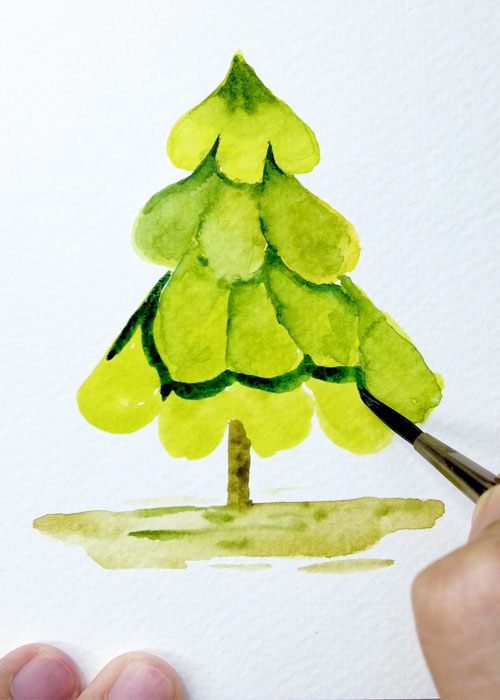
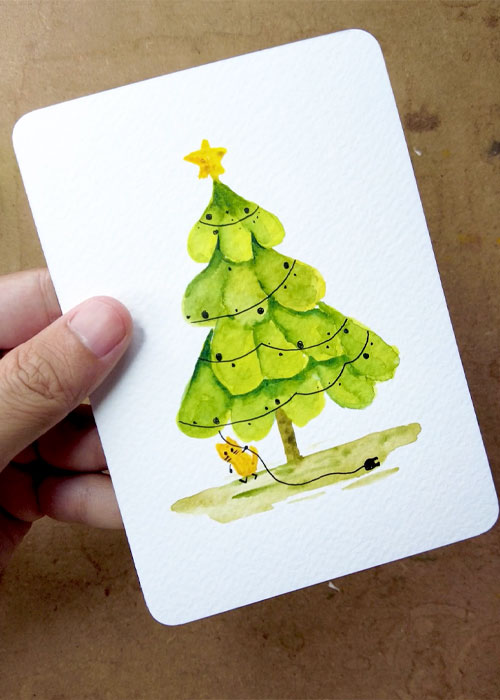
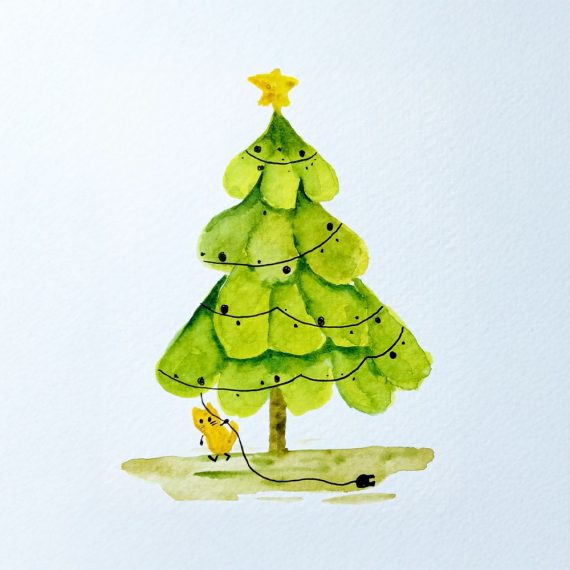
- Adding shadows and depth, like the dark green under each tier of a Christmas tree.
- Making a color richer while keeping it clear.
- Shifting a color, like a thin blue glaze to cool down an area that feels too warm.
- Adding crisp details in your final layer.
The golden rule: wait until it’s completely dry
Here’s the secret to watercolor glazing for beginners: only add a new layer when the one beneath is completely dry. Losing its shine isn’t enough. Touch the paper with the back of your hand: if it still feels cool, it’s still damp inside. Paint over it now and you’ll stir up the layer below and get mud.
Two more rules go with it: keep each layer thin and watery, and paint each stroke once with confidence instead of scrubbing back and forth.
Practice exercise: the five-square value ladder
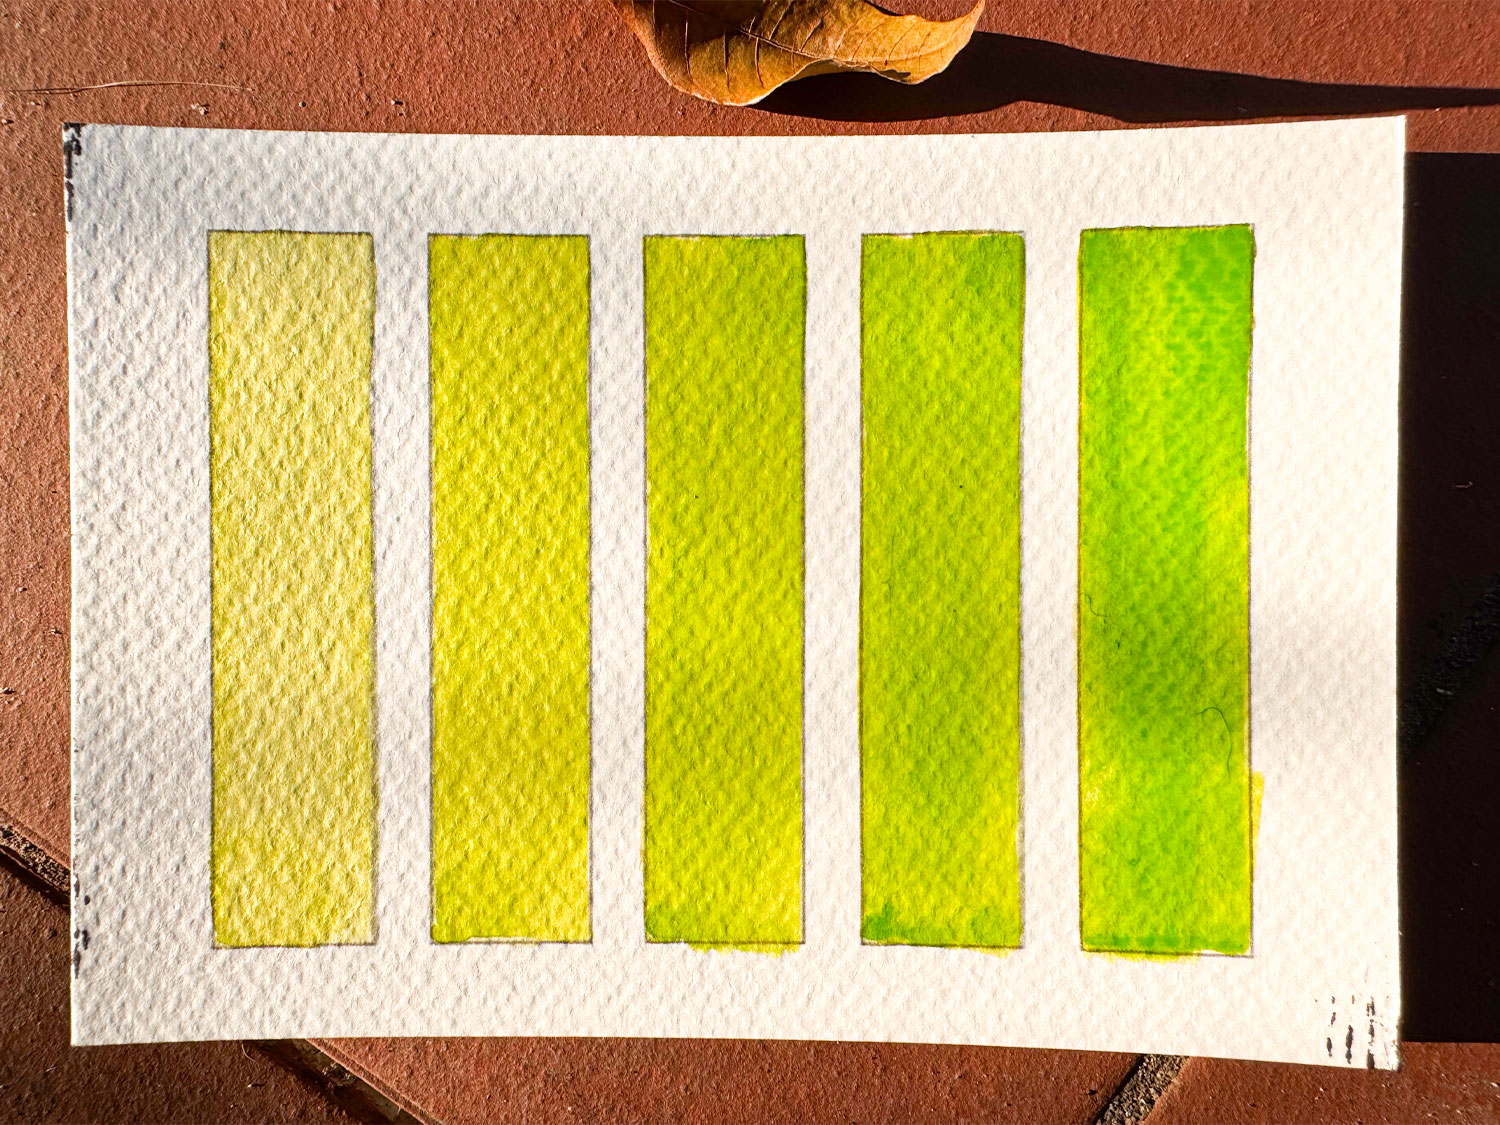
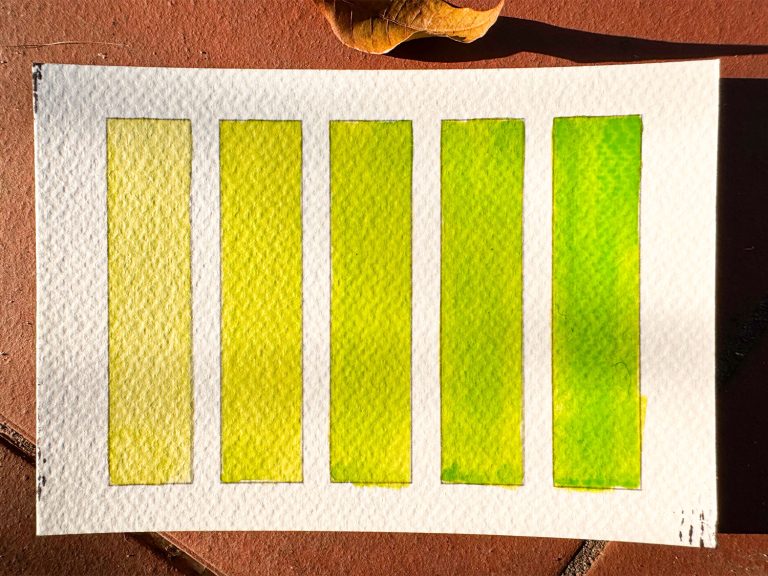
- Paint one thin green wash across all five squares. Let it dry completely.
- Paint a second layer over squares 2 to 5. Let it dry.
- Paint a third layer over squares 3 to 5. Let it dry.
- Paint a fourth layer over squares 4 and 5. Let it dry.
- Paint a final layer over square 5 only.
You can use Winsor & Newton Cotman Watercolors for the best results.
Tips for clean, glowing layers
These four small habits make watercolor glazing for beginners so much easier:
- Work from light to dark: paint the pale areas first and the darkest ones last.
- Make each layer thinner than you think. Building up slowly is easier than fixing a layer that's too dark.
- Use a hair dryer on a cool setting, held well away from the paper, if you want to speed things up.
- Keep your rinse water clean: cloudy water means cloudy layers.
If your colors turn muddy
Don’t add another layer to rescue it. Let it dry completely, then gently dampen the muddy area with a clean brush and blot with a paper towel to lift some paint. Once the paper is dry again, add a fresh thin layer, and this time wait a little longer.
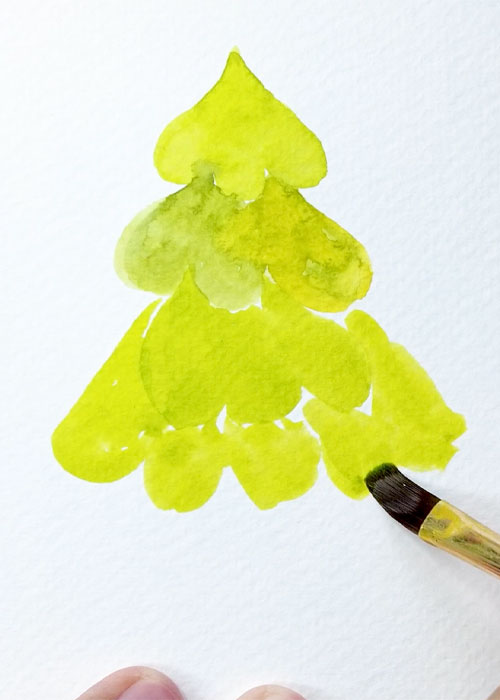
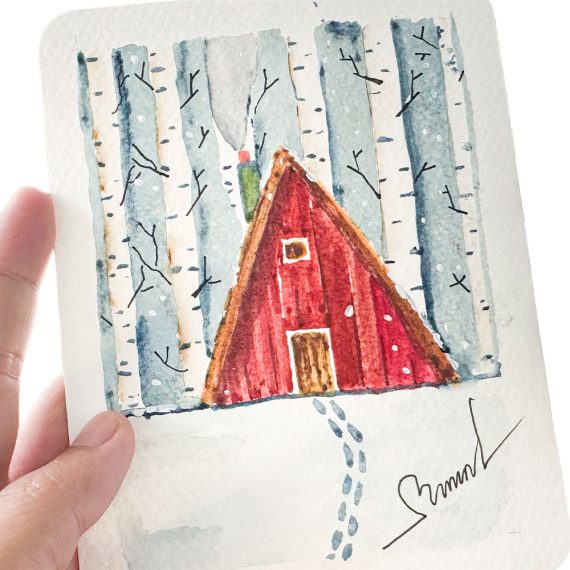
Watercolor glazing for beginners is easiest to learn on a real painting. It’s the secret behind both my Easy Watercolor Christmas Tree: A Cute 5-Minute Postcard for Beginners (the dark green shadows under each tier) and my Easy Watercolor Winter Cabin (the red painted only after the blue was bone dry). Want to warm up first? Try my Easy Watercolor Practice Playlist: short videos made for beginners.
Finished your value ladder? Share it or ask a question in our watercolor community group on Facebook.
FAQs
For a postcard, three layers are enough: a base layer, a layer for depth, and a layer for details. Only add a new layer once the one beneath is completely dry. Going over the same spot more than three or four times can make the color muddy and wear down the paper.
The paper has lost its shine and no longer feels cool when you touch it with the back of your hand. If it still feels cool, wait a few more minutes.
Either it wasn’t fully dry or you scrubbed too much. Use a light touch, paint each stroke once, and don’t go back over the area.
Transparent colors like Ultramarine, Sap Green or Lemon Yellow. Save opaque colors like Yellow Ochre for your last layer.
You can, but cellulose paper tends to pill after two or three layers. 100% cotton 300gsm paper keeps your layers clear and holds up much better.


No Comments