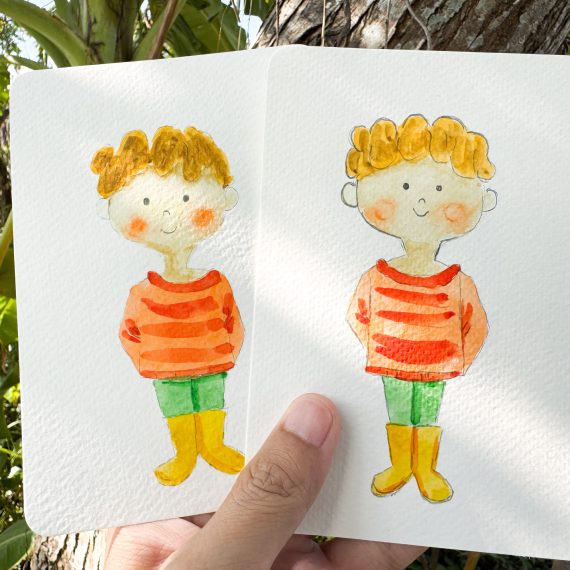
How to transfer a sketch to watercolor paper – printed sketch beside light pencil lines on cold press paper

How to Transfer a Sketch to Watercolor Paper: 3 Easy Ways for Beginners
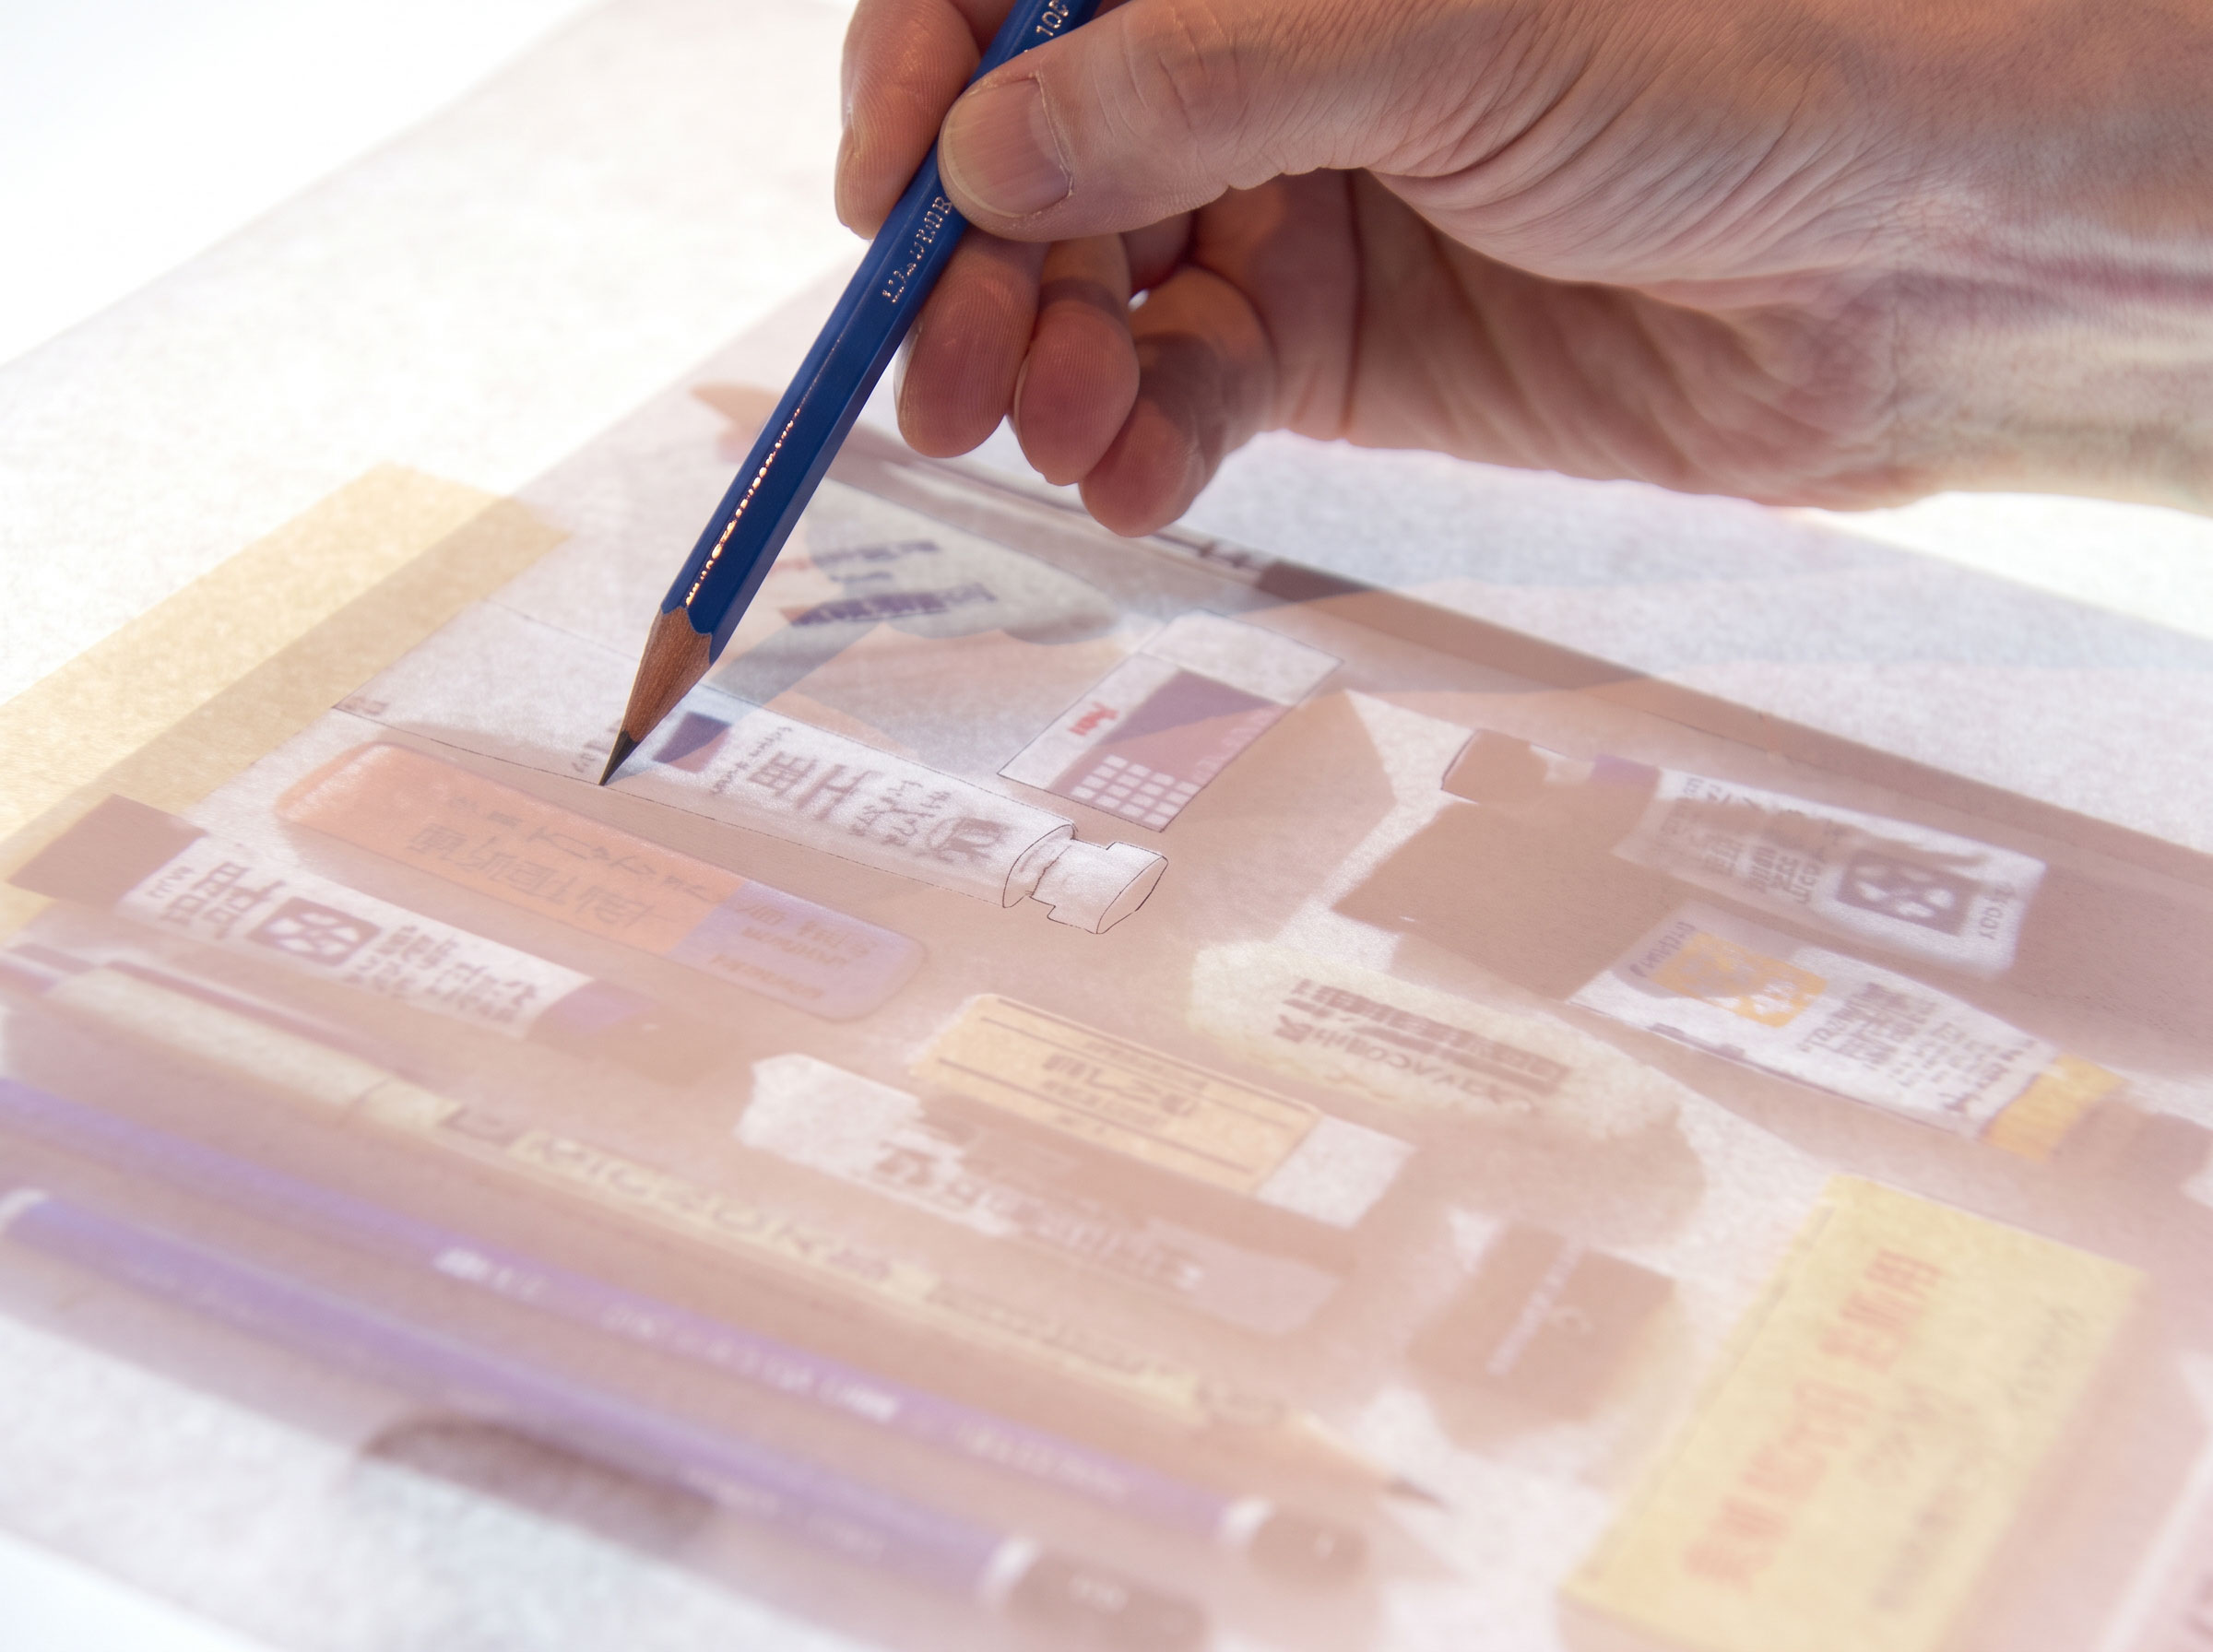
You don’t need to be good at drawing, and you don’t need an expensive lightbox. In this guide, I’ll show you how to transfer a sketch to watercolor paper three easy ways – the same methods watercolor teachers rely on – using a window, a pencil, or the printer you already have. After more than 10 years of painting, I still use them. Your lines will be clean, light, and gone under your paint.

Level 1 · 10-min practice · 4-min read

This post contains affiliate links. As an Amazon Associate I earn from qualifying purchases.

How to transfer a sketch to watercolor paper – printed sketch beside light pencil lines on cold press paper

Quick Answer

The three easiest ways to transfer a sketch to watercolor paper are: print it directly onto the paper (if your printer takes 300gsm), trace it against a sunny window, or shade the back of the printout with a soft pencil and trace over the lines. Whichever you choose, keep your lines light and press gently – once watercolor goes over pencil, the lines are locked in.

What Is Sketch Transfer (and When to Use It)?

Sketch transfer simply means moving a finished drawing onto your watercolor paper instead of drawing it freehand. You sketch on cheap paper – or print a free sketch – and then move only the clean lines onto your good paper. It’s especially helpful when:

How to Transfer a Sketch to Watercolor Paper: 3 Simple Ways

Method 1: Print It Directly (Fastest)

If your printer handles thick paper, this is the fastest option – it’s how I make most of my postcards. Print light gray lines in grayscale, feed one sheet at a time through the manual feed slot, and let the ink dry before you paint. Full guide: Can You Print on Watercolor Paper?

Method 2: Make Your Own Transfer Sheet (Free)

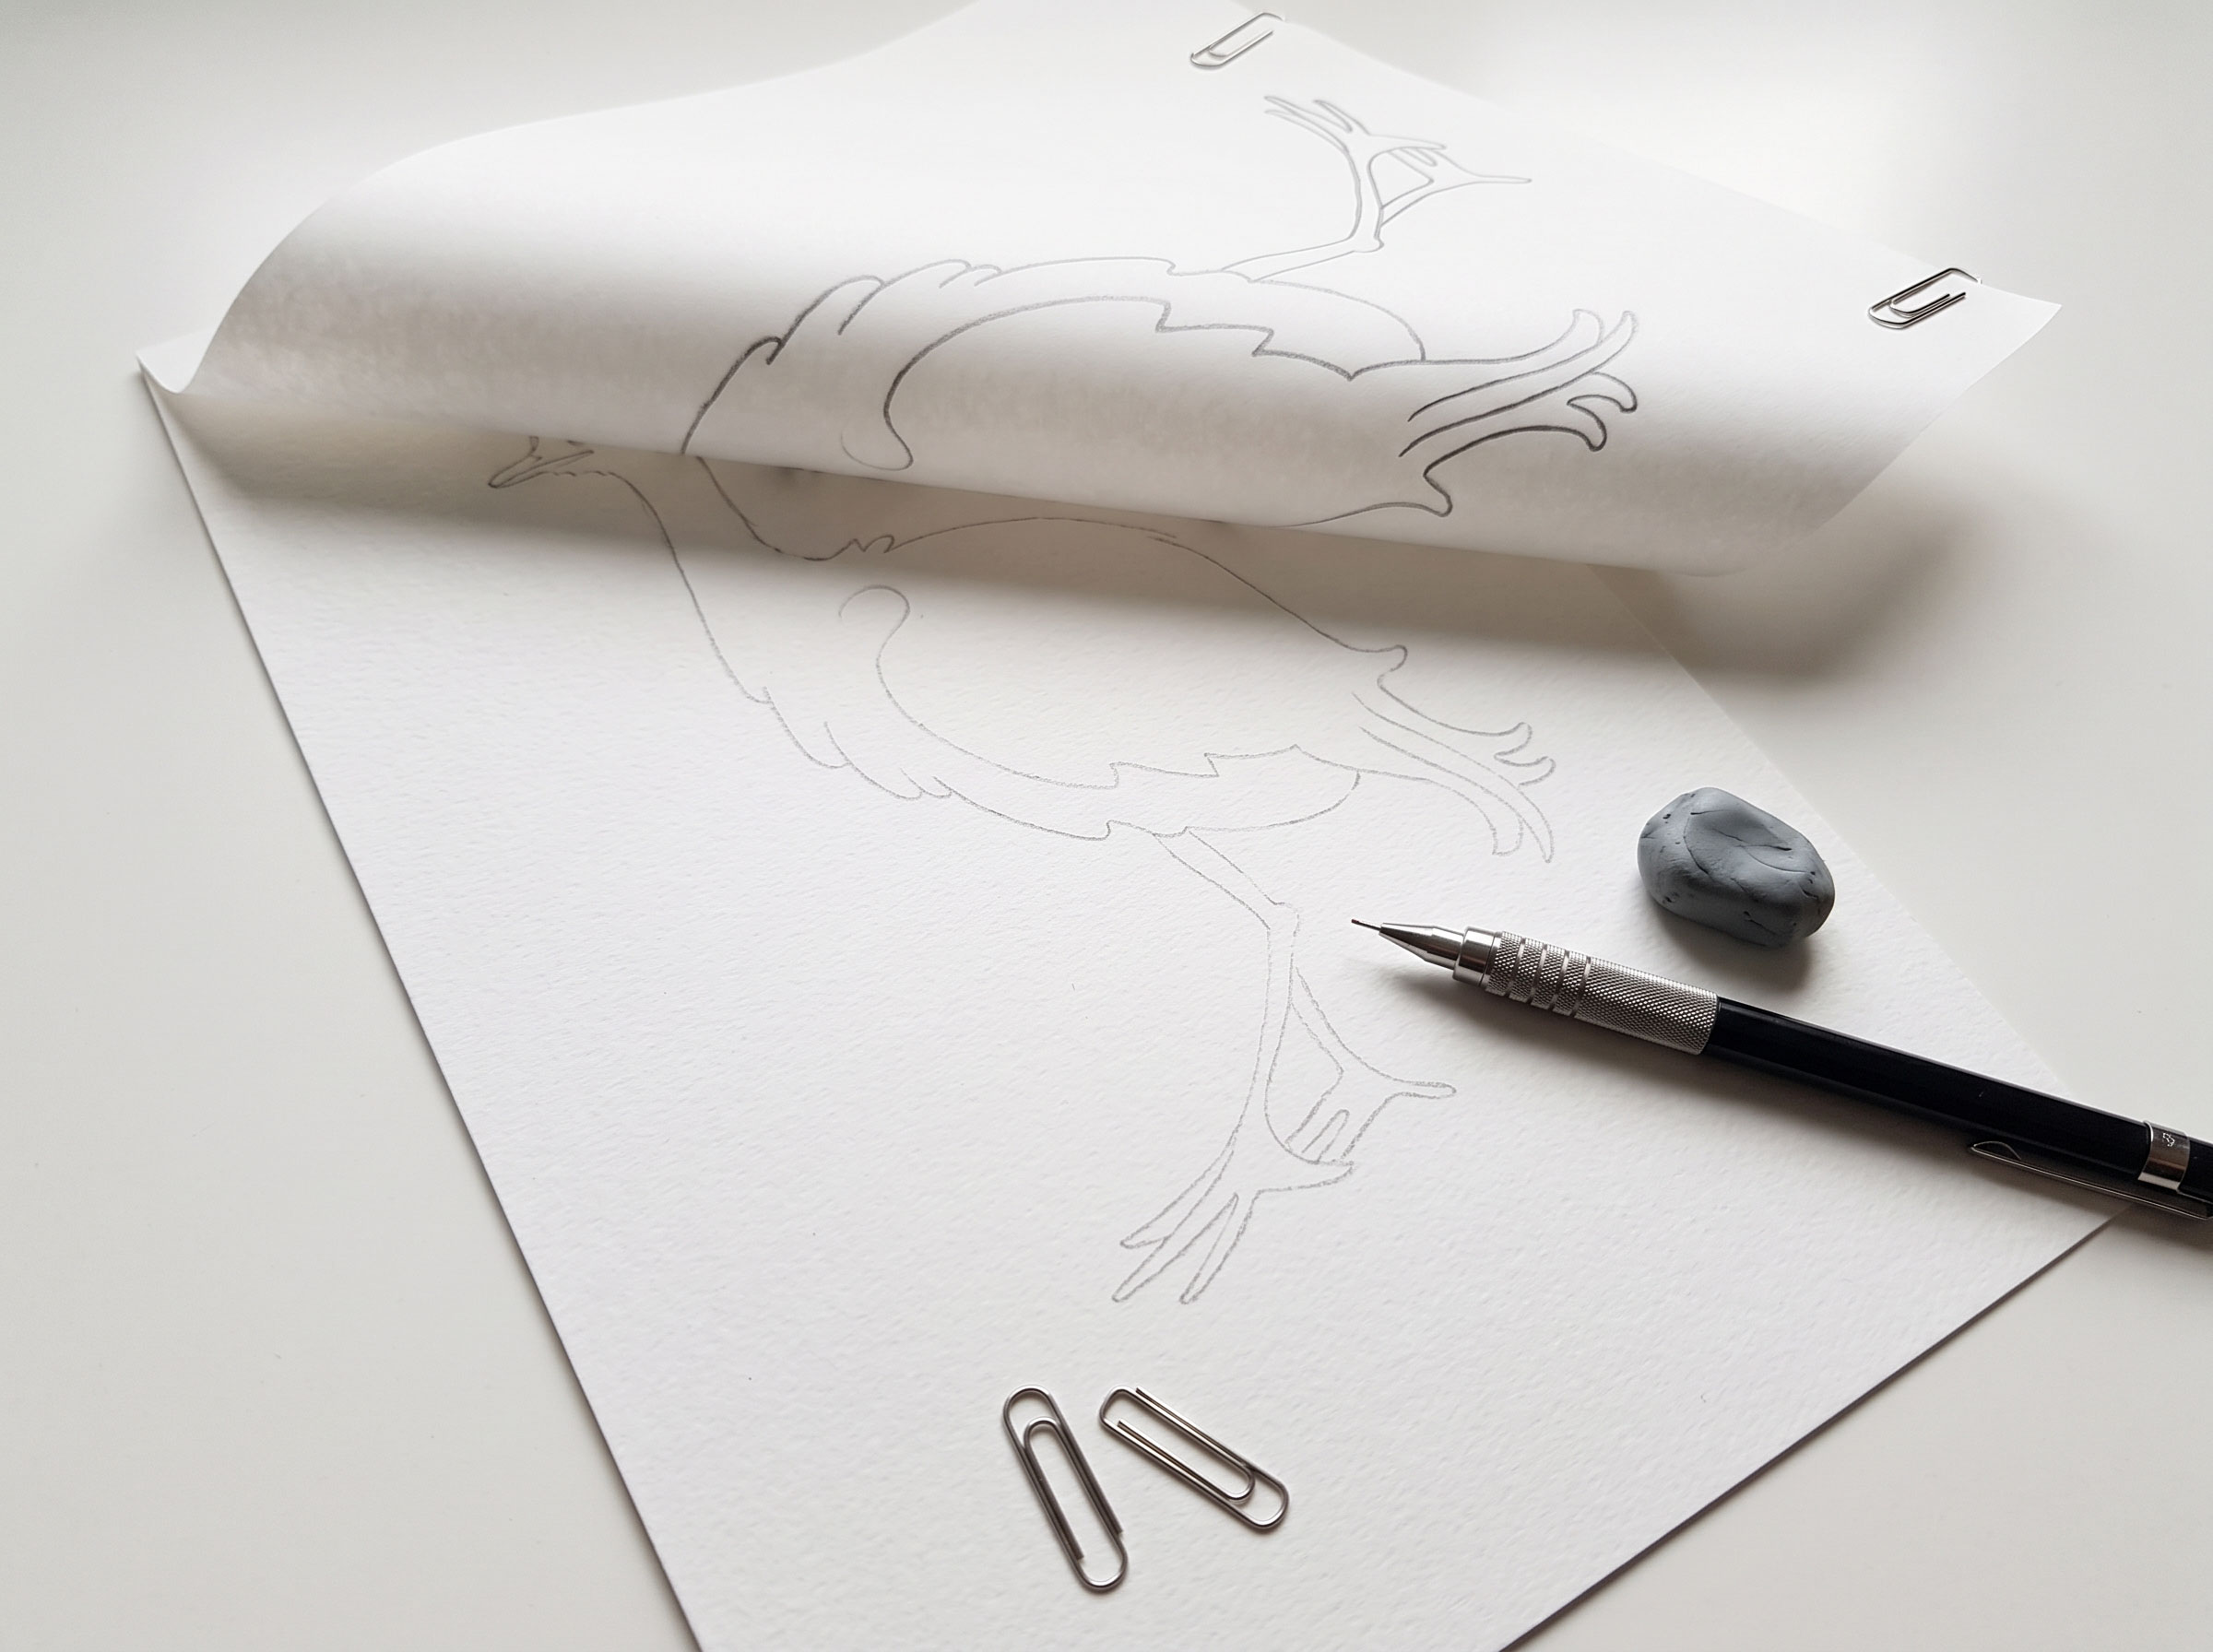
1. Flip your printout over and shade the back of the lines with a soft pencil (2B–4B).

2. Place it shaded side down on your watercolor paper and tape one edge like a hinge.

3. Trace over the lines on the front with a pencil or an empty ballpoint pen – the graphite on the back transfers onto your paper.

4. Remove the printout and dab any dark lines with a kneaded eraser.

Prefer a ready-made option? Graphite transfer paper works exactly the same way – you just skip the shading.

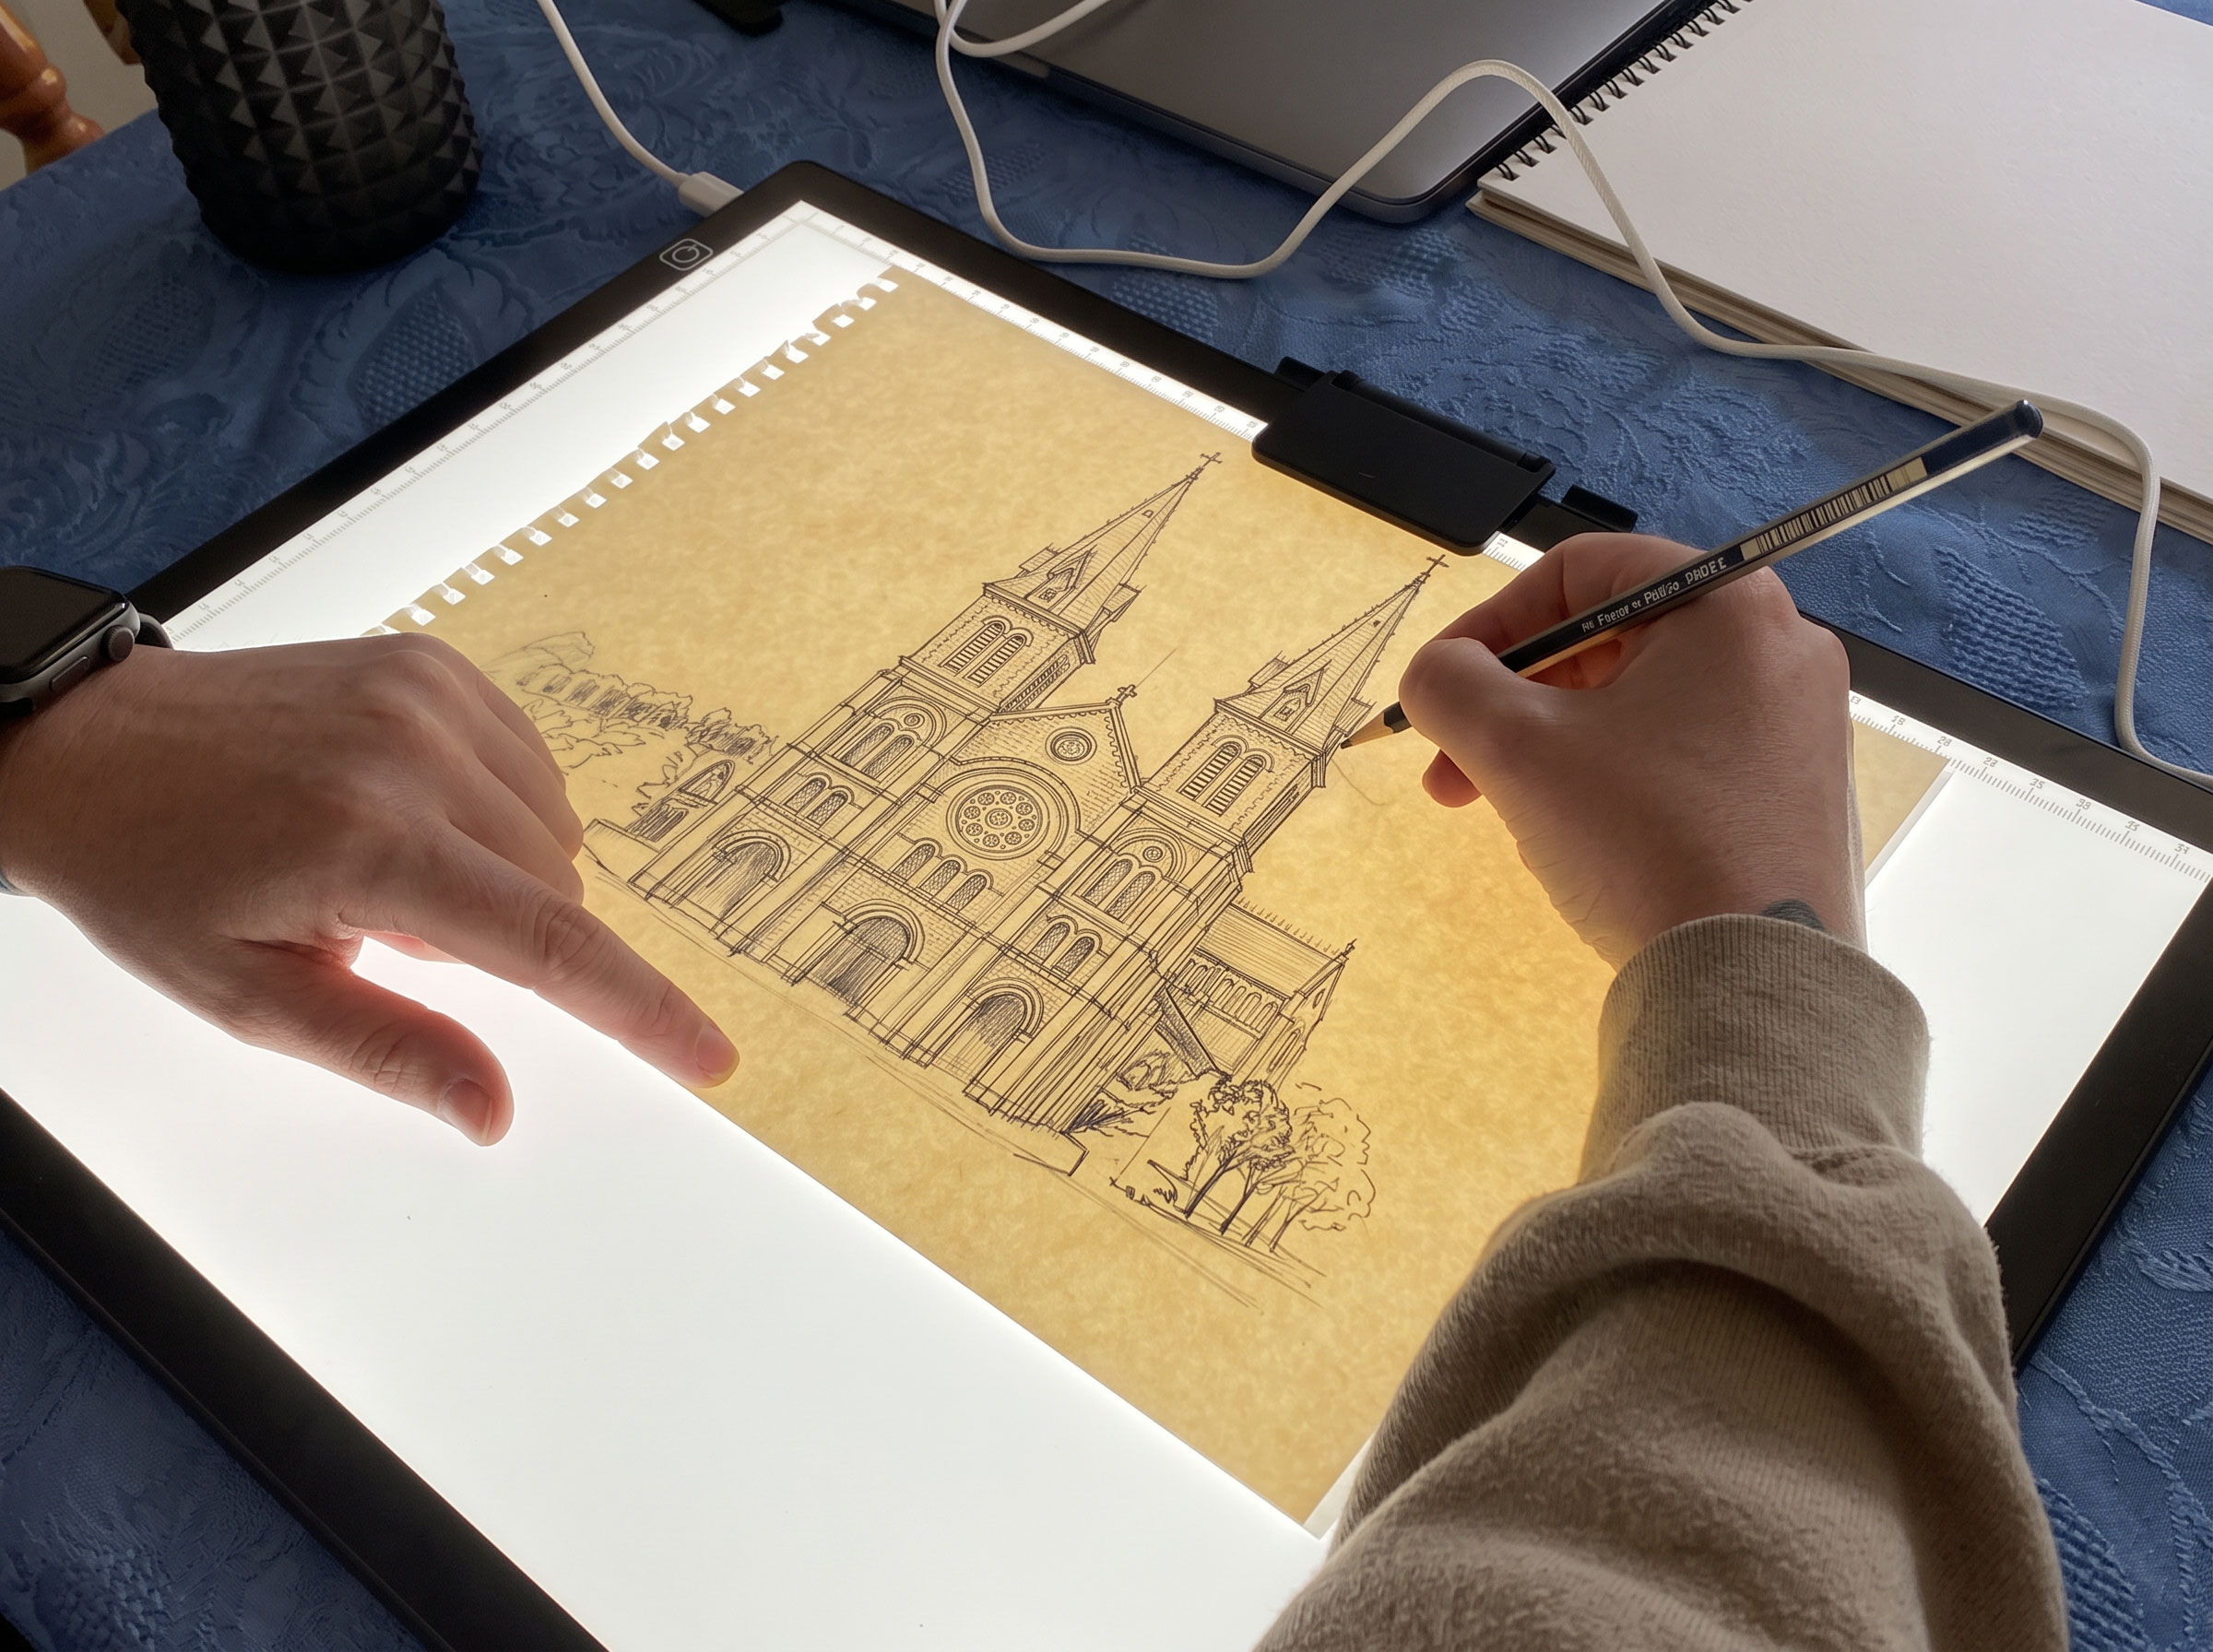
Method 3: Trace on a Lightbox (Easiest for Regular Painting)

A lightbox is a thin LED panel that lights your sketch from below – it’s the tracing tool many watercolor teachers rely on.

1. Set the lightbox on a flat table and turn it to its brightest setting.

2. Tape your printed sketch onto the lightbox with low-tack tape.

3. Place your watercolor paper on top, painting side up, and tape two corners.

4. Trace the lines with an HB or 2H pencil using a light touch, then lift one corner to check before removing the tape.

Tip: 300gsm paper is fairly thick, so dim the room lights to see the lines more clearly. No lightbox yet? A sunny window works the same way during the day – for free.

How to transfer a sketch to watercolor paper – printed sketch beside light pencil lines on cold press paper

Common Mistakes (and Quick Fixes)

• Lines are too dark and show through light colors. Why: soft lead or heavy pressure. Fix: dab (don’t rub) a kneaded eraser on the lines before you paint; next time, use HB or 2H with a light touch.

• Grooves pressed into the paper. Why: tracing too hard – a fine 0.5mm lead digs in easily. Those grooves collect paint and turn into dark lines. Fix: just touch the tip to the paper; a faint line is enough.

• The sketch slips halfway through. Why: the paper isn’t secured. Fix: always tape at least two corners before you start tracing.

Don’t worry if your first lines aren’t perfect. Pencil lines are just tracks to guide your brush – once the color goes on, nobody notices them.

Most of the time, I print sketches straight onto 300gsm paper with my Brother DCP-T520W at home. For drawing and fixing lines, I reach for my Pentel GraphGear 500 with 0.5mm HB lead – the fine tip gives me thin, clean lines, but I've learned to hold it loosely so it doesn't dent the paper. My rule after years of painting: the lighter the lines, the cleaner the painting.

Tools I Use

• BAOHONG Academy 300gsm Cold Press (100% Cotton) – a sturdy surface that doesn’t scuff when you gently lighten pencil lines.

• Pentel GraphGear 500 (0.5mm, HB) [LINK AMAZON] – my everyday pencil for thin, precise lines. Swap in H or 2H lead if you want even lighter lines.

• Kneaded eraser [LINK AMAZON] – a good option for lightening lines without scrubbing your paper.

• A4 LED lightbox [LINK AMAZON] – a good option if you transfer sketches often. Choose one with adjustable brightness so you can see through 300gsm paper.

Just starting out? See The Only 6 Supplies You Need to Start Watercolor.

Try It on a Painting

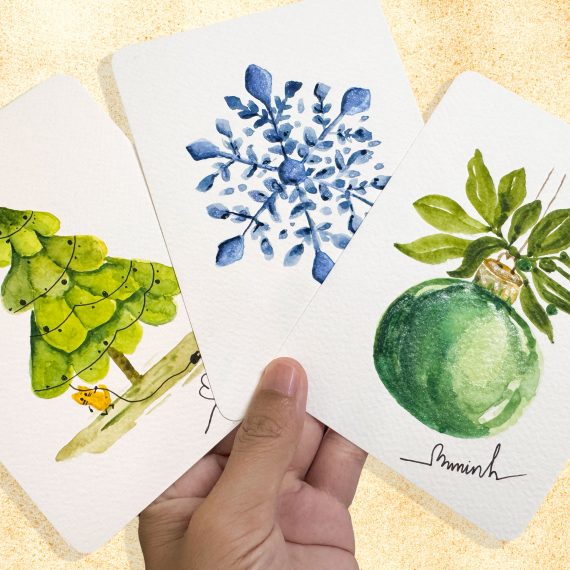
Download the Easy Watercolor Christmas Tree: A Cute 5-Minute Postcard sketch and try all three methods – the simple tree shape takes about five minutes to transfer. Want more practice? Check out the Easy Watercolor Practice Playlist.

Almost every day, I share an easy watercolor painting – plus sketches you can print and paint right away. Come say hi and show me the first postcard you print!

Follow on Facebook

FAQs

Printing directly onto the paper is the fastest way if your printer accepts 300gsm. If not, a lightbox is the easiest way to trace, and shading the back of your printout with pencil is the best free method. All three give you light, clean lines without any drawing skills.

Use an HB or 2H pencil for tracing, since harder lead makes lighter lines that smudge less. A fine mechanical pencil like a 0.5mm works well – just keep your pressure light. For shading the back of a printout, switch to a soft 2B–4B pencil.

Yes, especially under light colors, because watercolor is transparent. Keep your lines faint and dab them with a kneaded eraser before painting – once paint covers pencil, it’s almost impossible to erase.

Yes. The pencil-rubbing method needs no light at all, and a sunny window works like a free lightbox. A lightbox is simply faster and more comfortable if you transfer sketches often or like to paint at night.

Only in unpainted areas, and only after the painting is completely dry. Pencil under paint is sealed in, so rubbing it just scuffs the paper and lifts color. It’s better to lighten your lines before you paint.

No Comments

Post A Comment