Easy watercolor winter house: a cozy cottage with glowing yellow windows and pine trees on a 4×6 postcard

Easy Watercolor Winter House: A Glowing Cottage Postcard for Beginners

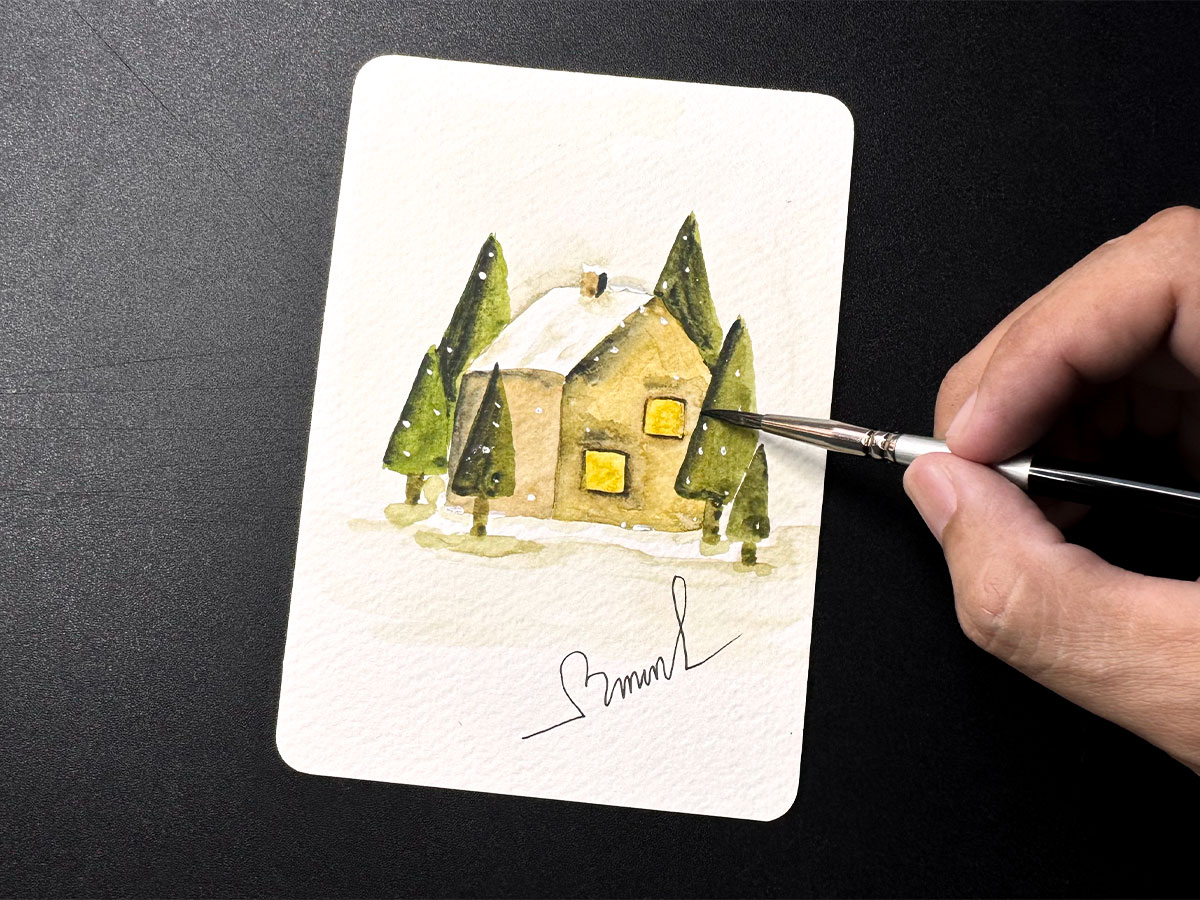
This easy watercolor winter house is the kind of card that makes someone feel warm the moment they open it: a little honey-colored cottage with a snowy roof, two glowing windows, a few pine trees, and soft falling snow.

You only need 2 layers. The trick is saving the white paper for the roof and windows, so your card looks bright and clean even if this is the first house you’ve ever painted.

Level 1 · 15 minutes of painting + drying time · 5 colors · 4×6 in postcard

This post contains affiliate links. As an Amazon Associate I earn from qualifying purchases.

Supplies I Used

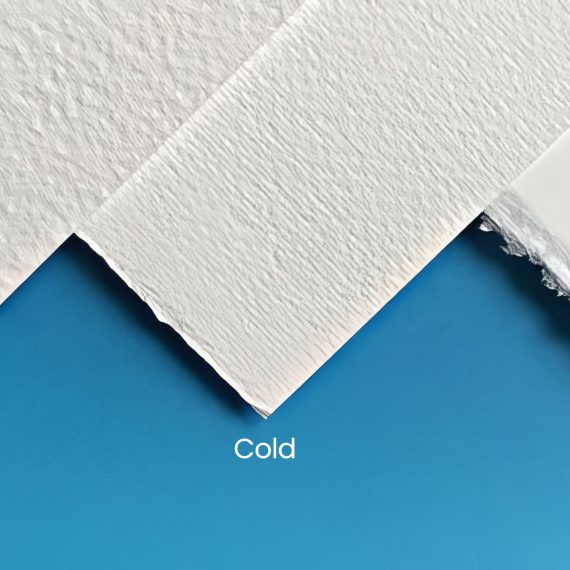
1. BAOHONG Academy cold press watercolor paper, 300gsm, 100% cotton – the texture gives the snowy ground a soft look. → See it on Amazon

2. Watercolor brush set – I use a size 16 for the walls and ground and a size 10 for the trees and windows. → See it on Amazon

3. Winsor & Newton Cotman watercolor set. → See it on Amazon

4. Corner rounder punch (4, 7 and 10 mm, plus an inside-curve cut). I use the 7 mm size. → See it on Amazon

5. White acrylic paint – for the falling snow, dotted on once the painting is dry. → See it on Amazon

6. Tape holds your paper in place and helps reduce buckling and warping while you paint. → See it on Amazon

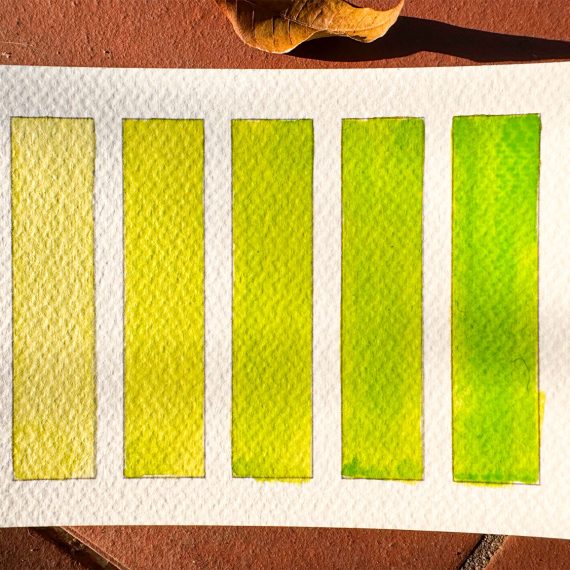
Colors

816
Permanent Yellow
817
Lemon Yellow
824
Greenish Yellow
825
Olive Green
895
Black

The Secret: Save the White Paper for a Glowing Winter House

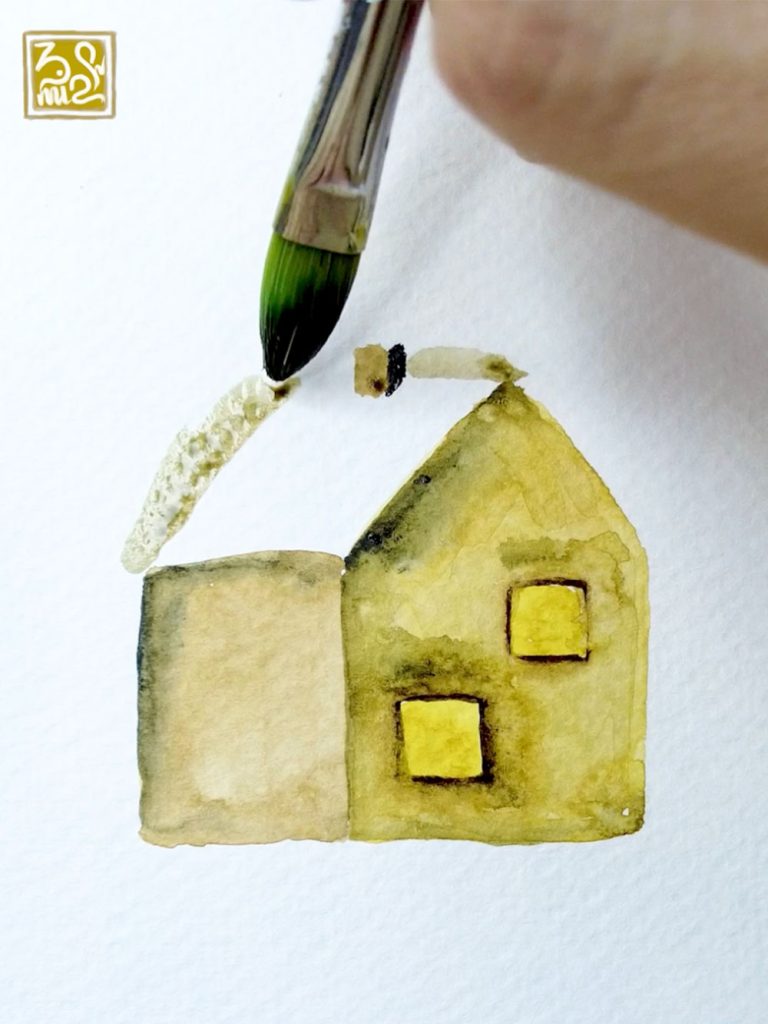
The secret to an easy watercolor winter house is that you never paint the white. The snowy roof is simply paper you left untouched, and the windows stay white while you paint the walls. Only in the last layer do you drop bright yellow into those clean windows, so the light glows clear instead of mixing with the wall color.

Easy watercolor winter house: a cozy cottage with glowing yellow windows and pine trees on a 4×6 postcard

The whole painting uses wet-on-dry layering: let the walls dry completely before painting the trees that overlap them, so the colors stay separate. Learn more in Watercolor Glazing for Beginners: How to Layer Without Mud

Subscribe to my Facebook Page and get 2 new full tutorials every week, posted Tuesday and Thursday mornings (US time). Watch them as many times as you like. These lessons are exclusive to subscribers, all for less than the price of a coffee a month.

Subscribe on Facebook

Finished your little house? Share it or ask a question in our watercolor community group on Facebook. I’d love to see your windows glowing!


FAQs

It usually comes from dirty rinse water, mixing too many colors together, or going back over paint while it’s half dry. Change your water as soon as it turns cloudy, mix no more than two or three colors at a time, and paint each stroke once before letting it dry. Watercolor also dries lighter, so mix your paint a little stronger than the shade you want.

The paper has lost its shine and no longer feels cool when you touch it with the back of your hand. If it still feels cool, it’s damp inside, so wait a few more minutes.

Leave the paper white for large bright areas like a snowy roof or glowing windows, because white paper keeps watercolor at its clearest and brightest. Save white paint (acrylic or gouache) for small final details, like falling snow.

For large areas, your brush should be wet enough for the paint to flow evenly without dripping. For small details, blot some water onto a paper towel so your lines stay crisp. A brush that’s too wet causes blooms and buckled paper.

A bloom happens when water from your brush touches an area that’s half dry and pushes the paint outward. Either work while the area is evenly wet or wait until it’s completely dry, and avoid touching it in between.

Tags:
,
No Comments

Post A Comment