Learn how to paint a bottle gourd in watercolor with this step-by-step tutorial — washes, shading, and details. Watch the full video guide now.
If you love painting nature’s quirky, everyday shapes, a bottle gourd is one of the most rewarding subjects you can pick up. Its curved silhouette, glossy highlights, and curling tendril give you a little bit of everything a watercolor painter needs to practice: smooth washes, layered shading, and delicate linework. In this watercolor tutorial, we’ll walk through how this hanging bottle gourd painting was created, from the first light wash to the final dark accents, so you can follow the same process in your own sketchbook.
Why Paint a Bottle Gourd in Watercolor
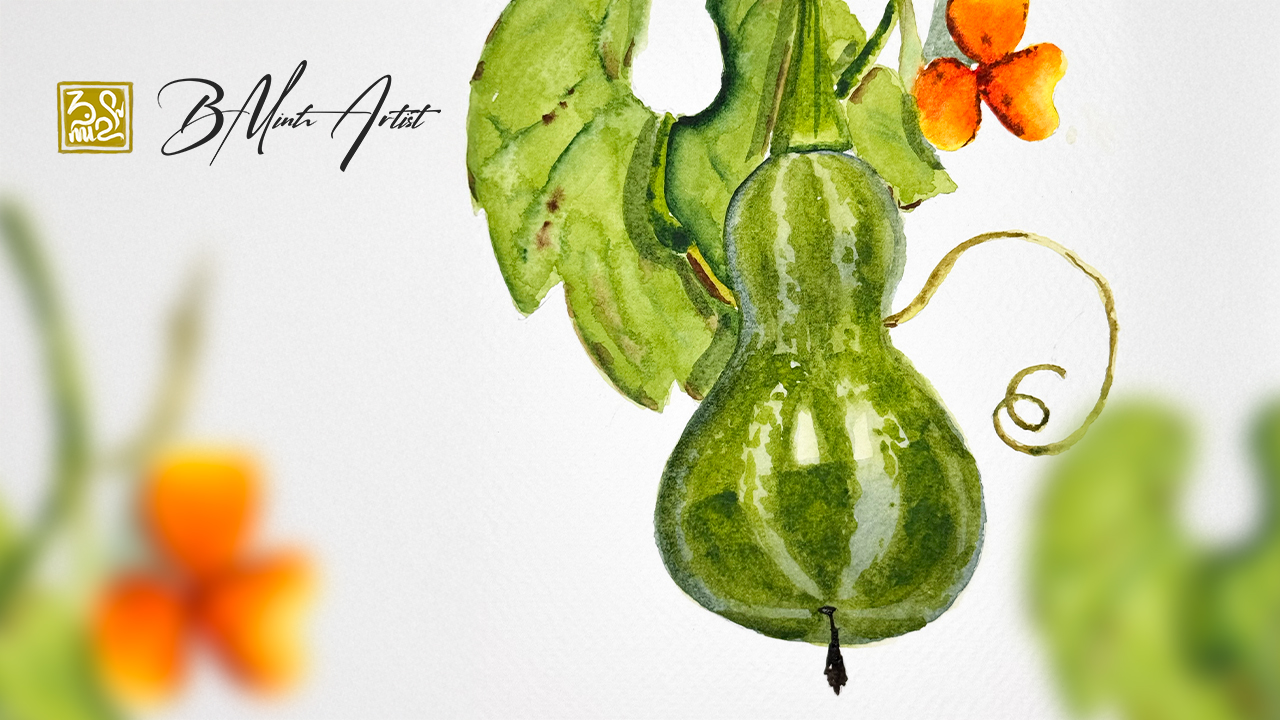
The bottle gourd (also known as calabash) is a wonderful subject for anyone practicing watercolor painting because it combines a simple rounded form with a surprisingly rich surface. The skin shifts between yellow-green highlights and deep olive shadows, which makes it perfect for practicing gradation and wet-on-wet blending. Add in the curling vine and a small orange flower in the background, and you have a composition that teaches form, color mixing, and negative space all in one piece.
Materials You’ll Need
Cold-press watercolor paper (300gsm / 140lb recommended)
Round brushes: size 6 and size 2 (for fine details like the tendril and stem)
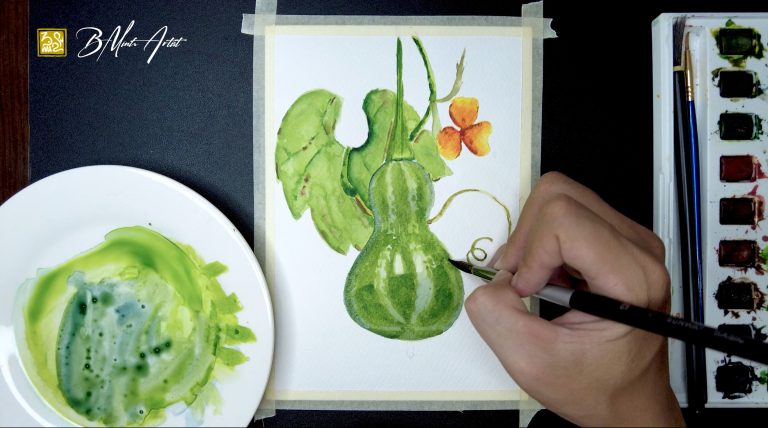
Watercolor paints: sap green, olive green, yellow ochre, burnt sienna, Payne’s grey, and a touch of orange for the background flower
A clean water jar and paper towel for lifting excess paint
Masking fluid (optional, for preserving the brightest highlights on the gourd’s surface)
Pencil and eraser for a light initial sketch
Step-by-Step Watercolor Bottle Gourd Tutorial
Step 1: Sketch the Basic Shape
Start with a light pencil outline of the gourd’s two-lobed silhouette, the hanging leaves above it, and the curling tendril to the side. Keep the lines loose. In watercolor painting, an overly detailed sketch can make your washes look stiff, so aim for just enough guidance to place your first layers confidently.
Step 2: Lay the First Wash
Wet the surface of the gourd with clean water, then drop in a pale yellow-green mix along the lit areas. While the paper is still damp, introduce a slightly darker olive green toward the edges. This wet-on-wet technique is what gives the gourd its soft, rounded feel right from the start.
Step 3: Deepen the Shadows on the Gourd
Once the first wash is fully dry, mix a richer olive-to-brown shadow tone and paint it along the underside of each lobe and where the leaves overlap the fruit. Keep your brush strokes following the curve of the form — this is what sells the glossy, three-dimensional look of the gourd’s surface.
Step 4: Add the Fine Details
Switch to your smaller brush for the curling tendril, the thin dark stem at the bottom, and any texture lines along the gourd’s ridges. A slightly diluted Payne’s grey works well for these final linear details. This is also the stage to add the small orange flower peeking in from behind — just a few confident petal shapes are enough.
Tips and Common Mistakes to Avoid
Don’t overwork the wet-on-wet layer — two or three color drops are usually enough before the blending turns muddy.
Let each layer dry fully before glazing a new one, or your crisp edges will soften unintentionally.
Keep a consistent light source in mind throughout the painting so all your shadows fall in the same direction.
Test your green and brown mixes on scrap paper first — gourd skin tones are subtle and easy to over-saturate.
Save your brightest white highlights for last; it’s much easier to darken a value than to lift color back out.
Wrapping Up
This watercolor bottle gourd painting is a great exercise in layering, patience, and observing how light wraps around an organic form. If you’d like to see every brushstroke of this process in real time — including the color mixing and the exact order each wash was applied.
Frequently Asked Questions
What colors do I need for a watercolor bottle gourd painting?
A basic palette of sap green, olive green, yellow ochre, burnt sienna, and Payne’s grey covers most of the gourd’s surface tones, with a touch of orange reserved for any background flowers.
Is a bottle gourd a good subject for beginner watercolor painting?
Yes. Its simple rounded shape makes it ideal for beginners practicing wet-on-wet blending and basic shading, while the leaves and tendril offer extra practice for those wanting more of a challenge.
How do I get smooth, rounded shading on a watercolor gourd?
Work wet-on-wet for the first layer so colors blend softly, then add darker glazes only after the paper is completely dry, following the curve of the form with each brushstroke.
What paper is best for this watercolor tutorial?
A cold-press watercolor paper at 300gsm (140lb) or heavier is recommended, since it holds multiple wet layers without warping or pilling.
Can I use masking fluid for the highlights on the gourd?
Yes, applying masking fluid to the brightest highlight areas before painting lets you work freely with your washes and reveal clean white highlights at the end.
How long does a painting like this usually take?
Including drying time between layers, a piece of this size typically takes one to two hours of active painting, spread across a single relaxed session.








No Comments