Learn how to paint a pear in watercolor with this step-by-step tutorial — color blending, shading, and details. Watch the full video guide now.
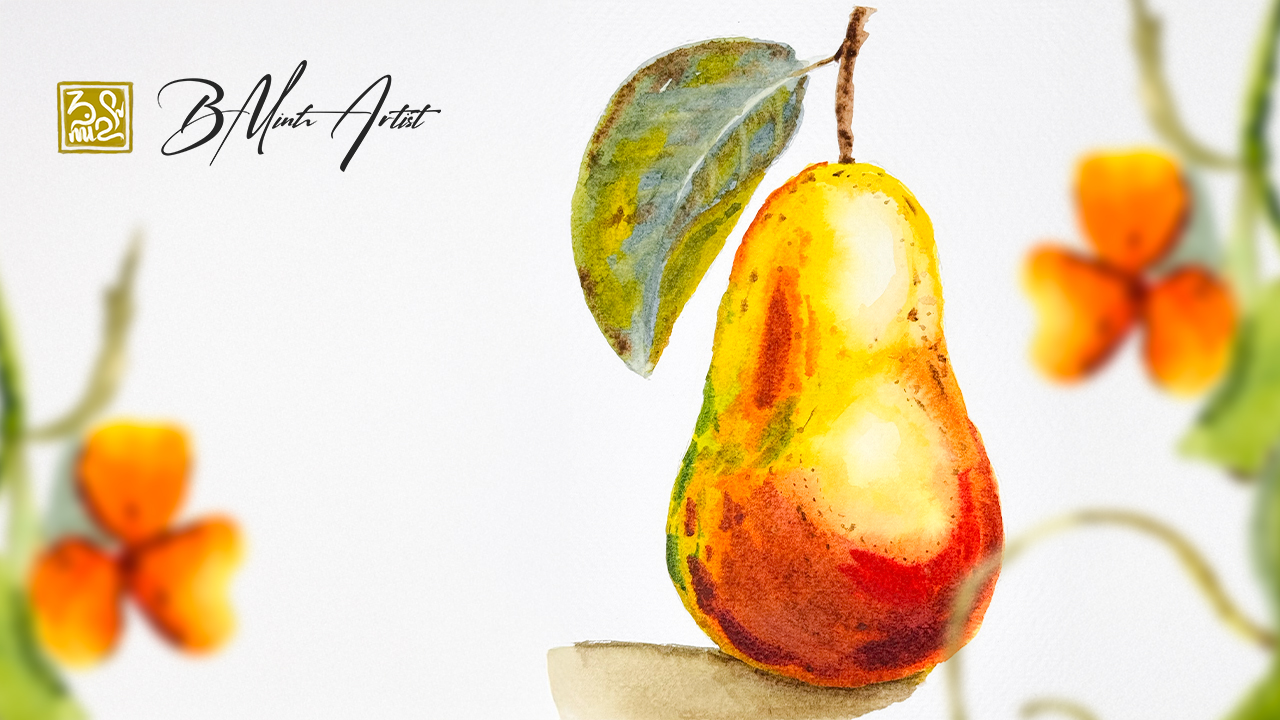
A single hanging pear, with its soft blush of red fading into golden yellow, is one of the most satisfying subjects you can paint in watercolor. It looks simple at first glance, but capturing that gentle shift between three or four colors on one smooth, rounded form is exactly the kind of exercise that sharpens core watercolor painting skills. In this watercolor tutorial, we’ll break down how this pear painting came together, from the first pale wash to the final leaf details, so you can follow the same steps in your own practice.
Why Paint a Pear in Watercolor
The pear is a classic subject in watercolor painting for good reason. Its elongated, curved silhouette is forgiving for beginners, while the skin itself carries a beautiful gradient of yellow, green, orange, and red that challenges even experienced painters to blend smoothly. Add a single curling leaf and a soft cast shadow, and you have a composition that teaches color transitions, form, and light in one compact piece.
Materials You’ll Need
Cold-press watercolor paper (300gsm / 140lb recommended)
Round brushes: size 6 for the body of the pear, size 2 for the stem and leaf veins
Watercolor paints: cadmium yellow, yellow ochre, cadmium red, alizarin crimson, sap green, and a neutral grey-brown for the shadow
A clean water jar and paper towel for lifting excess paint
Masking fluid (optional, to preserve the brightest highlight on the pear’s rounded side)
Pencil and eraser for a light initial sketch
Step-by-Step Watercolor Pear Tutorial
Step 1: Sketch the Pear’s Silhouette
Begin with a light pencil outline of the pear’s classic teardrop shape, along with the stem and the single leaf attached at the top. Keep the sketch loose and simple — in watercolor painting, a heavy outline tends to fight with soft, blended washes later on.
Step 2: Lay the First Wash
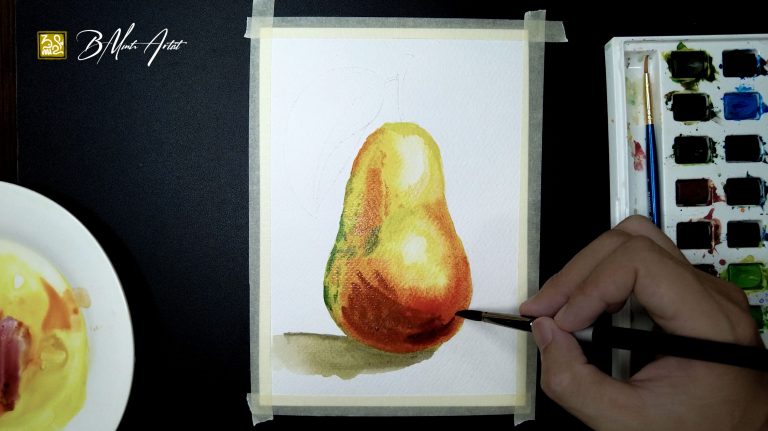
Wet the entire pear shape with clean water, then drop in pale yellow across the upper section and a touch of yellow-green near the base. While the paper is still damp, introduce warm orange and red tones along one side. This wet-on-wet approach lets the colors bleed softly into one another, giving the pear its natural, glowing gradient from the very first layer.
Step 3: Build the Color Transitions
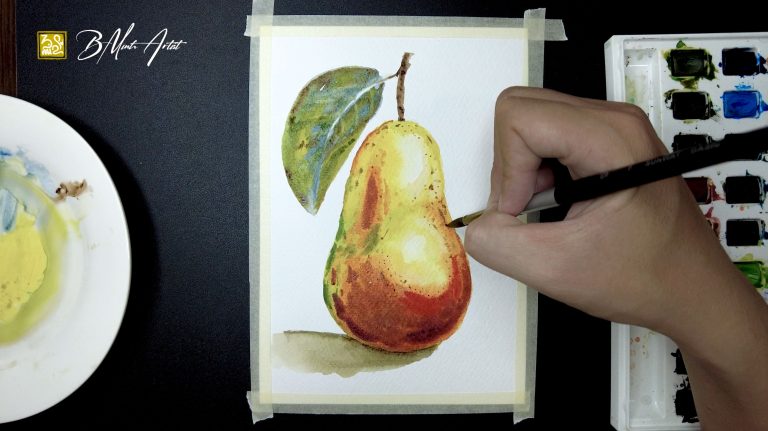
Once the first wash is dry, deepen the shadowed side of the pear with a richer red-orange mix, always following the curve of the fruit with your brushstrokes. Leave the lit side untouched or add only the faintest glaze, so the contrast between light and shadow does the work of describing the pear’s rounded form.
Step 4: Add the Cast Shadow and Final Touches
Finish with a soft grey-brown shadow beneath the pear to ground it on the page. Step back and check your values: if the highlight isn’t bright enough, you can lift a little color with a clean damp brush, or simply leave the white paper untouched from the start for the cleanest result.
Tips and Common Mistakes to Avoid
Choose a good-quality cold-press paper — thin or low-grade paper absorbs pigment unevenly and makes smooth color transitions much harder to achieve.
Don’t rush the wet-on-wet stage; let the colors bleed naturally rather than pushing them around with the brush.
Keep a consistent light source so the highlight and shadow sides of the pear stay believable.
Test your color transitions on scrap paper first, since yellow-to-red gradients can turn muddy if too many colors are mixed wet-on-wet at once.
Save your brightest highlight for last — it’s much easier to darken a value than to lift color back out.
Wrapping Up
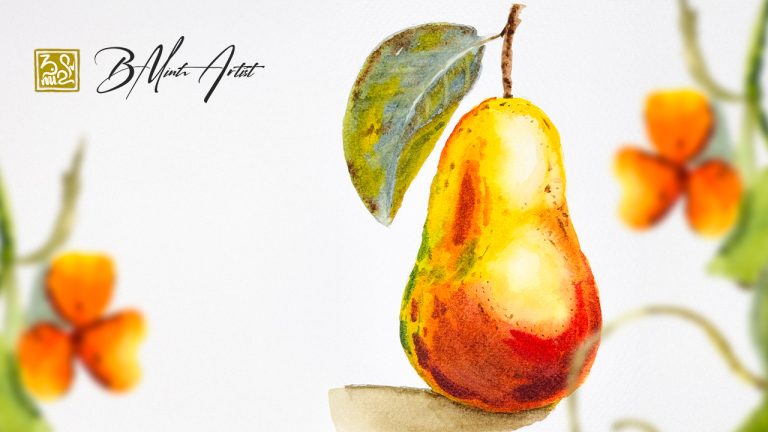
This watercolor pear painting is a great exercise in color blending, patience, and observing how a gradient of hues can describe both form and light. If you’d like to see every brushstroke of this process in real time — including the exact color mixes and the order each wash was applied — watch the full watercolor tutorial video, linked below.
Frequently Asked Questions
Is a pear a good subject for beginner watercolor painting?
Yes. Its simple, elongated shape makes it easy for beginners to sketch and fill with wet-on-wet color, while the gradient of hues across its skin offers valuable practice in blending.
How do I get a smooth color gradient on a watercolor pear?
Work wet-on-wet for the first layer so the yellow, orange, and red tones blend softly into each other, then add any darker shadow glazes only after the paper is completely dry.
What paper is best for this watercolor tutorial?
A cold-press watercolor paper at 300gsm (140lb) or heavier is recommended, since lower-quality paper can cause colors to look patchy or dull rather than smooth.
How long does a painting like this usually take?
Including drying time between layers, a piece of this size typically takes about 45 minutes to an hour of active painting, making it a great subject for a single relaxed session.







No Comments