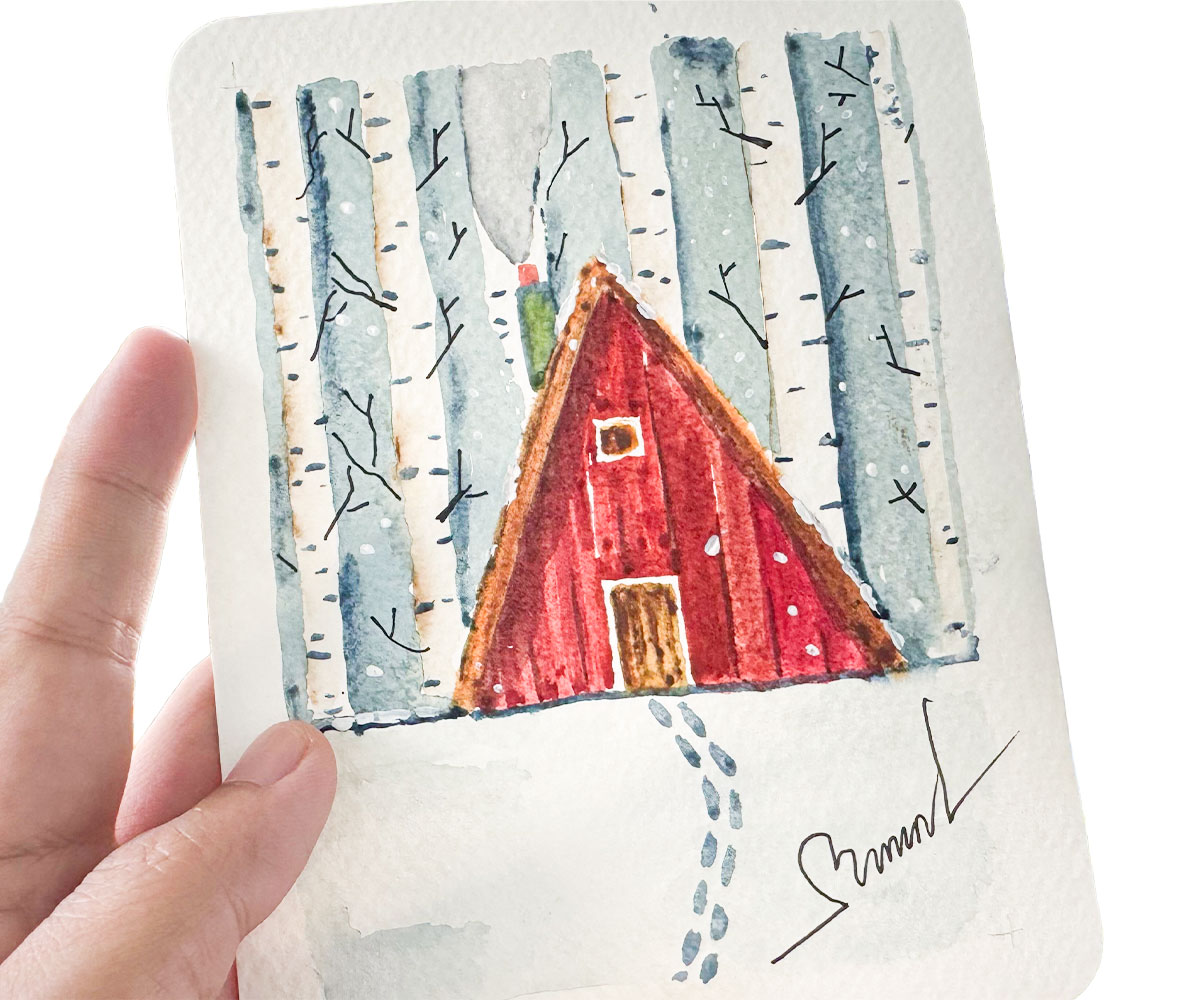
Easy watercolor winter cabin: a red A-frame house in a snowy birch forest on a 4×6 postcard

Easy Watercolor Winter Cabin: A Cozy Red A-Frame Postcard for Beginners

This easy watercolor winter cabin is the coziest postcard I’ve painted this season: a little red A-frame tucked into a cool blue forest, with falling snow and a trail of footprints leading to the door. All you need is 2 layers of color and a fine liner.

The simple triangle shape means there’s almost nothing to draw, and that warm red against the cool blues makes your card look polished, even if this is your very first painting.

Level 2 · 20 minutes of painting + drying time · 6 colors · 4×6 in postcard

This post contains affiliate links. As an Amazon Associate I earn from qualifying purchases.

Want a head start? Download the US Letter sketch below (4×6 ratio), then set your printer scale to about 50% for a 4×6 in or A6 postcard. For personal use only. (*Personal use only)


Supplies I Used

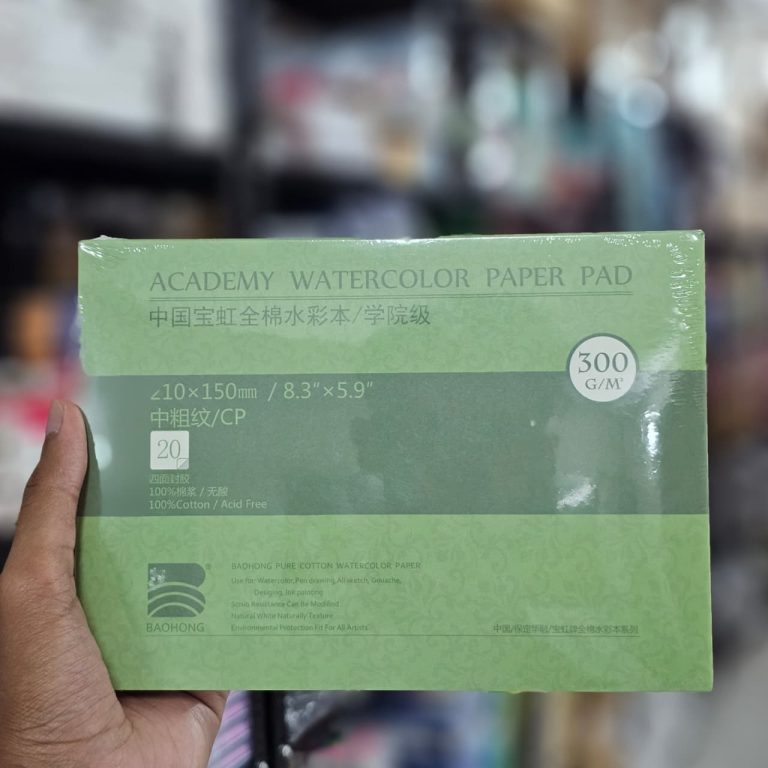
1. BAOHONG Academy watercolor paper, cold press, 300gsm (140lb), 100% cotton.

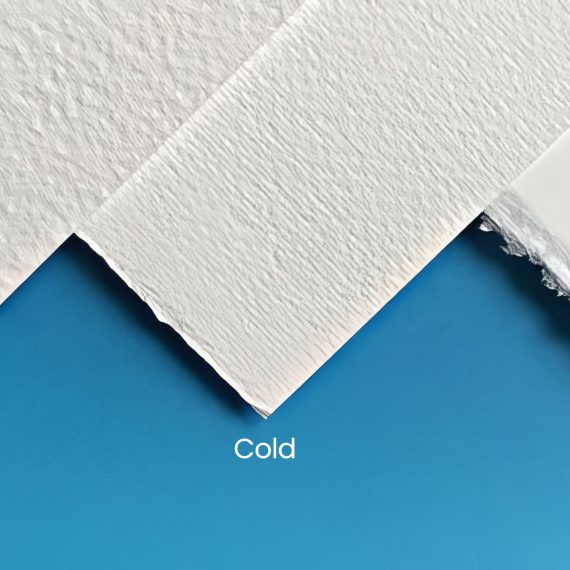
Cold press isn’t as bumpy as rough paper, yet it keeps more texture than hot press, which is perfect for the soft, blooming color in this tree. It’s thick enough that it barely buckles, even with several layers. I cut it down for postcards. See it on Amazon

BAOHONG Academy Grade Watercolor Block

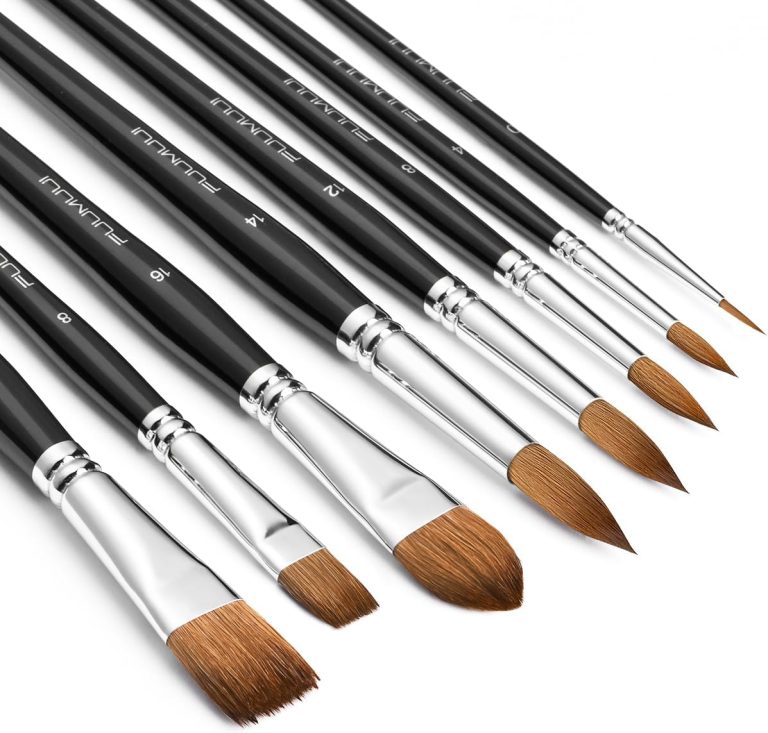
2. Watercolor brush set.

I only used two brushes here: a size 16 to lay down the base layer quickly and a size 10 for the dark green in the smaller spots. See it on Amazon

Watercolor Brushes for beginner

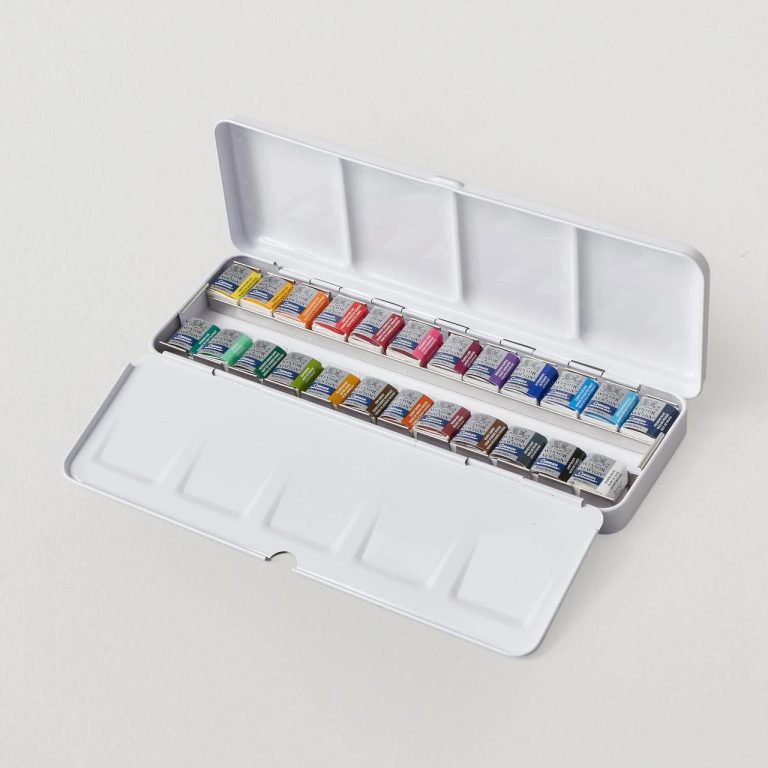
3. Winsor & Newton Cotman watercolor set.

A beginner-friendly set: bright colors that reactivate quickly with water, at a price that lets you practice freely. See it on Amazon

Winsor & Newton Cotman Watercolor Paint Set, 24 Whole Pan Studio Set

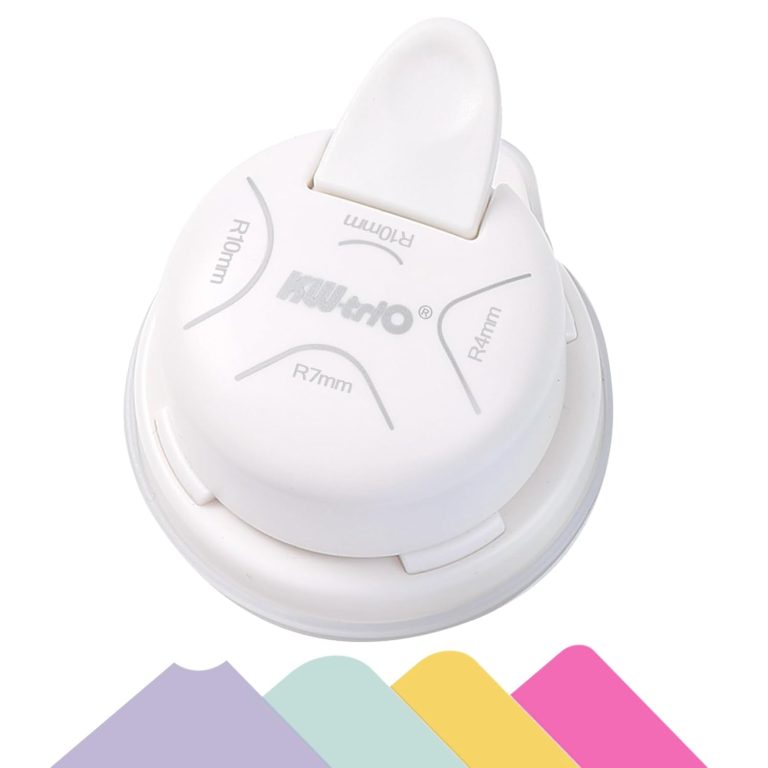
4. Corner rounder punch

Rounding the corners makes your postcard look shop-bought in seconds. It has three corner sizes (4, 7 and 10 mm) plus an inside-curve cut. I usually use the 7 mm size on a 4×6 in card. See it on Amazon

Corner Rounder Punch

5. Black fine liner pen.

For the string lights, the bulbs and the cat’s face, once the paint is dry.

Main Colors in This Painting

The Secret: Wet-on-Dry Layering for a Clean Red Cabin

The whole painting uses wet-on-dry layering: you only paint a new layer once the one beneath is completely dry. For an easy watercolor winter cabin, this matters more than anything, because if the red touches wet blue, the two blend into a muddy purple right along the edge of the house.

My second trick: paint the red in vertical strokes and leave tiny slivers of white paper between them. Those gaps turn into wooden planks on their own. Learn more in Watercolor Glazing for Beginners: How to Layer Without Mud.

How to paint the Cabin with 3 steps

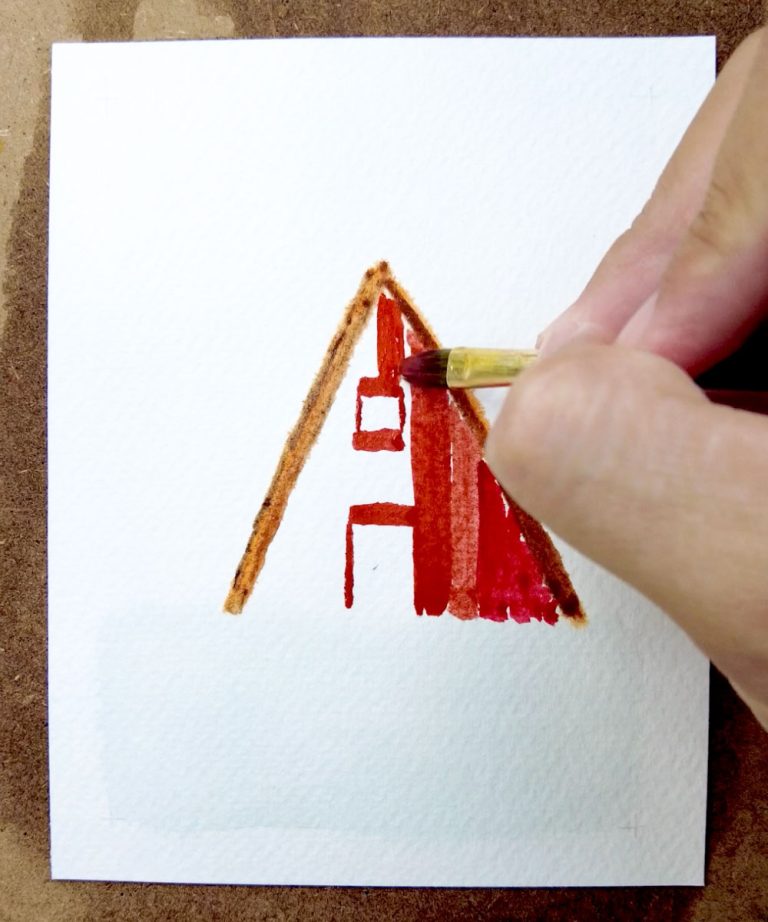
Step 1: Paint the two sides of the triangle in brown. Then use red to fill in the outer wooden wall, leaving white space for the two doors.

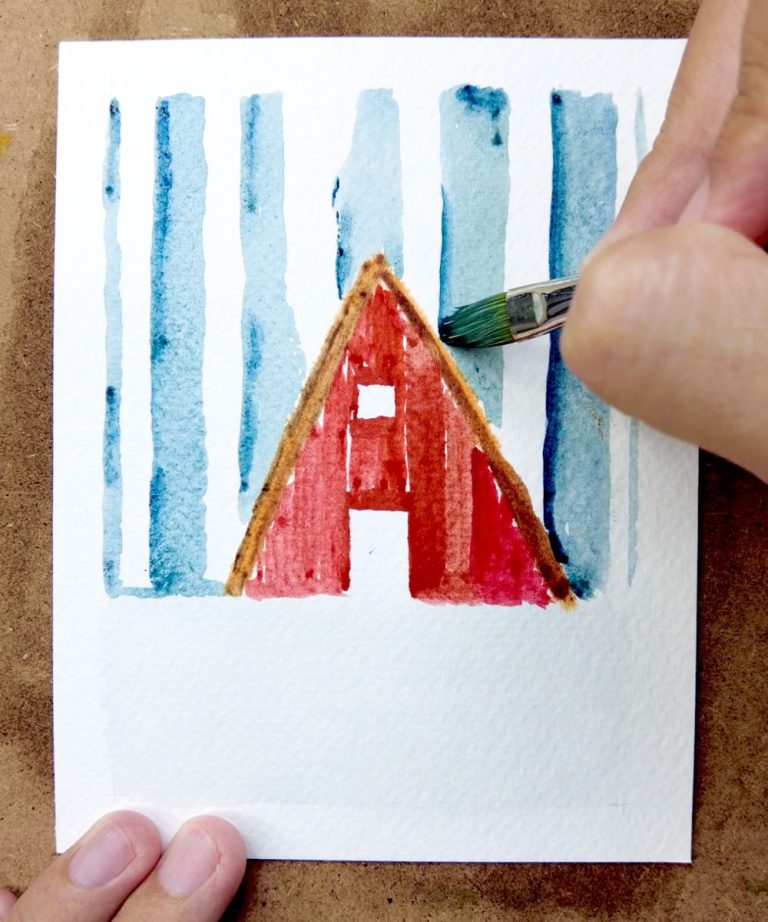
Step 2: Use Cerulean Blue to paint the sky background, applying vertical strokes and leaving white gaps for the tree trunks. Then add a touch of Peacock Blue to create depth.

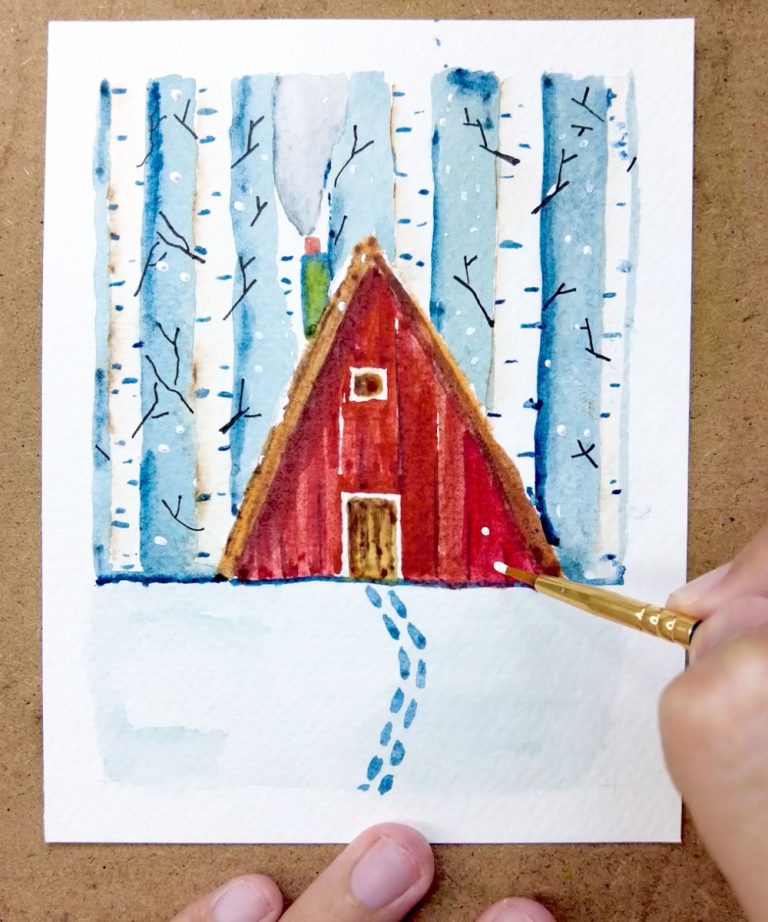
Step 3: Finish the small details such as tree branches, the gate, the doors, footsteps, and so on.

THE FULL STEP-BY-STEP VIDEO
Subscribe to my Facebook Page and get 2 new full tutorials every week, posted Tuesday and Thursday mornings (US time). Watch them as many times as you like. These lessons are exclusive to subscribers, all for less than the price of a coffee a month.

Proud of Your Painting?

I’d love to see your painting! Share a photo of your lovely watercolor postcard in my watercolor community on Facebook, and join the conversation with hundreds of fellow painters.


FAQs

The blue background was still damp. Next time, wait until the paper has lost its shine and no longer feels cool to the touch before painting the red. If it already bled, blot gently with a dry paper towel right away to lift some paint.

No. The cabin is just a triangle you can mark lightly with a pencil and ruler. The printable sketch simply helps you place the house and trunks evenly.

Use 300gsm (140 lb) cold press paper cut to 4×6 in or A6, and round the corners for a finished look. Mail it in an envelope to protect the watercolor.

I dot them on with white acrylic paint, using the tip of a small brush or a toothpick, once the painting is completely dry. Acrylic covers watercolor beautifully, so the snow stays bright white. You can also leave tiny spots of white paper from the start, but that is harder for beginners.

For this postcard, three layers are enough: a base layer, a layer for depth, and a layer for details. Only add a new layer once the one beneath is completely dry. Going over the same spot more than three or four times can make the color muddy and wear down the paper.

Tags:
,
No Comments

Post A Comment